Operation Stacker: A Human-Scale Robotic Arm For Stack Permutating
Manan Isak & Cam Angliss
Our original goal was to construct a robotic arm that can perform basic manipulation, such as picking up, re-orienting, and moving objects in empty space. The arm will be fixed by the shoulder to a tabletop with a fixed-location camera sensor at its base to inform its manipulations. The arm will consist of an upper arm, forearm, and a two-pronged claw, connected by shoulder, elbow, and wrist joints. Additionally, time and complexity permitting, we will add sensors to the claw to allow the sensation of touch. If all goes exceptionally well, we would implement an AI agent to control the arm simultaneously.
Due to limitations to the resources available to us and some difficulties met during development, we changed our robot to be a grabber arm that could pick up beakers and shake them in a laboratory environment instead of a stack permutating arm.
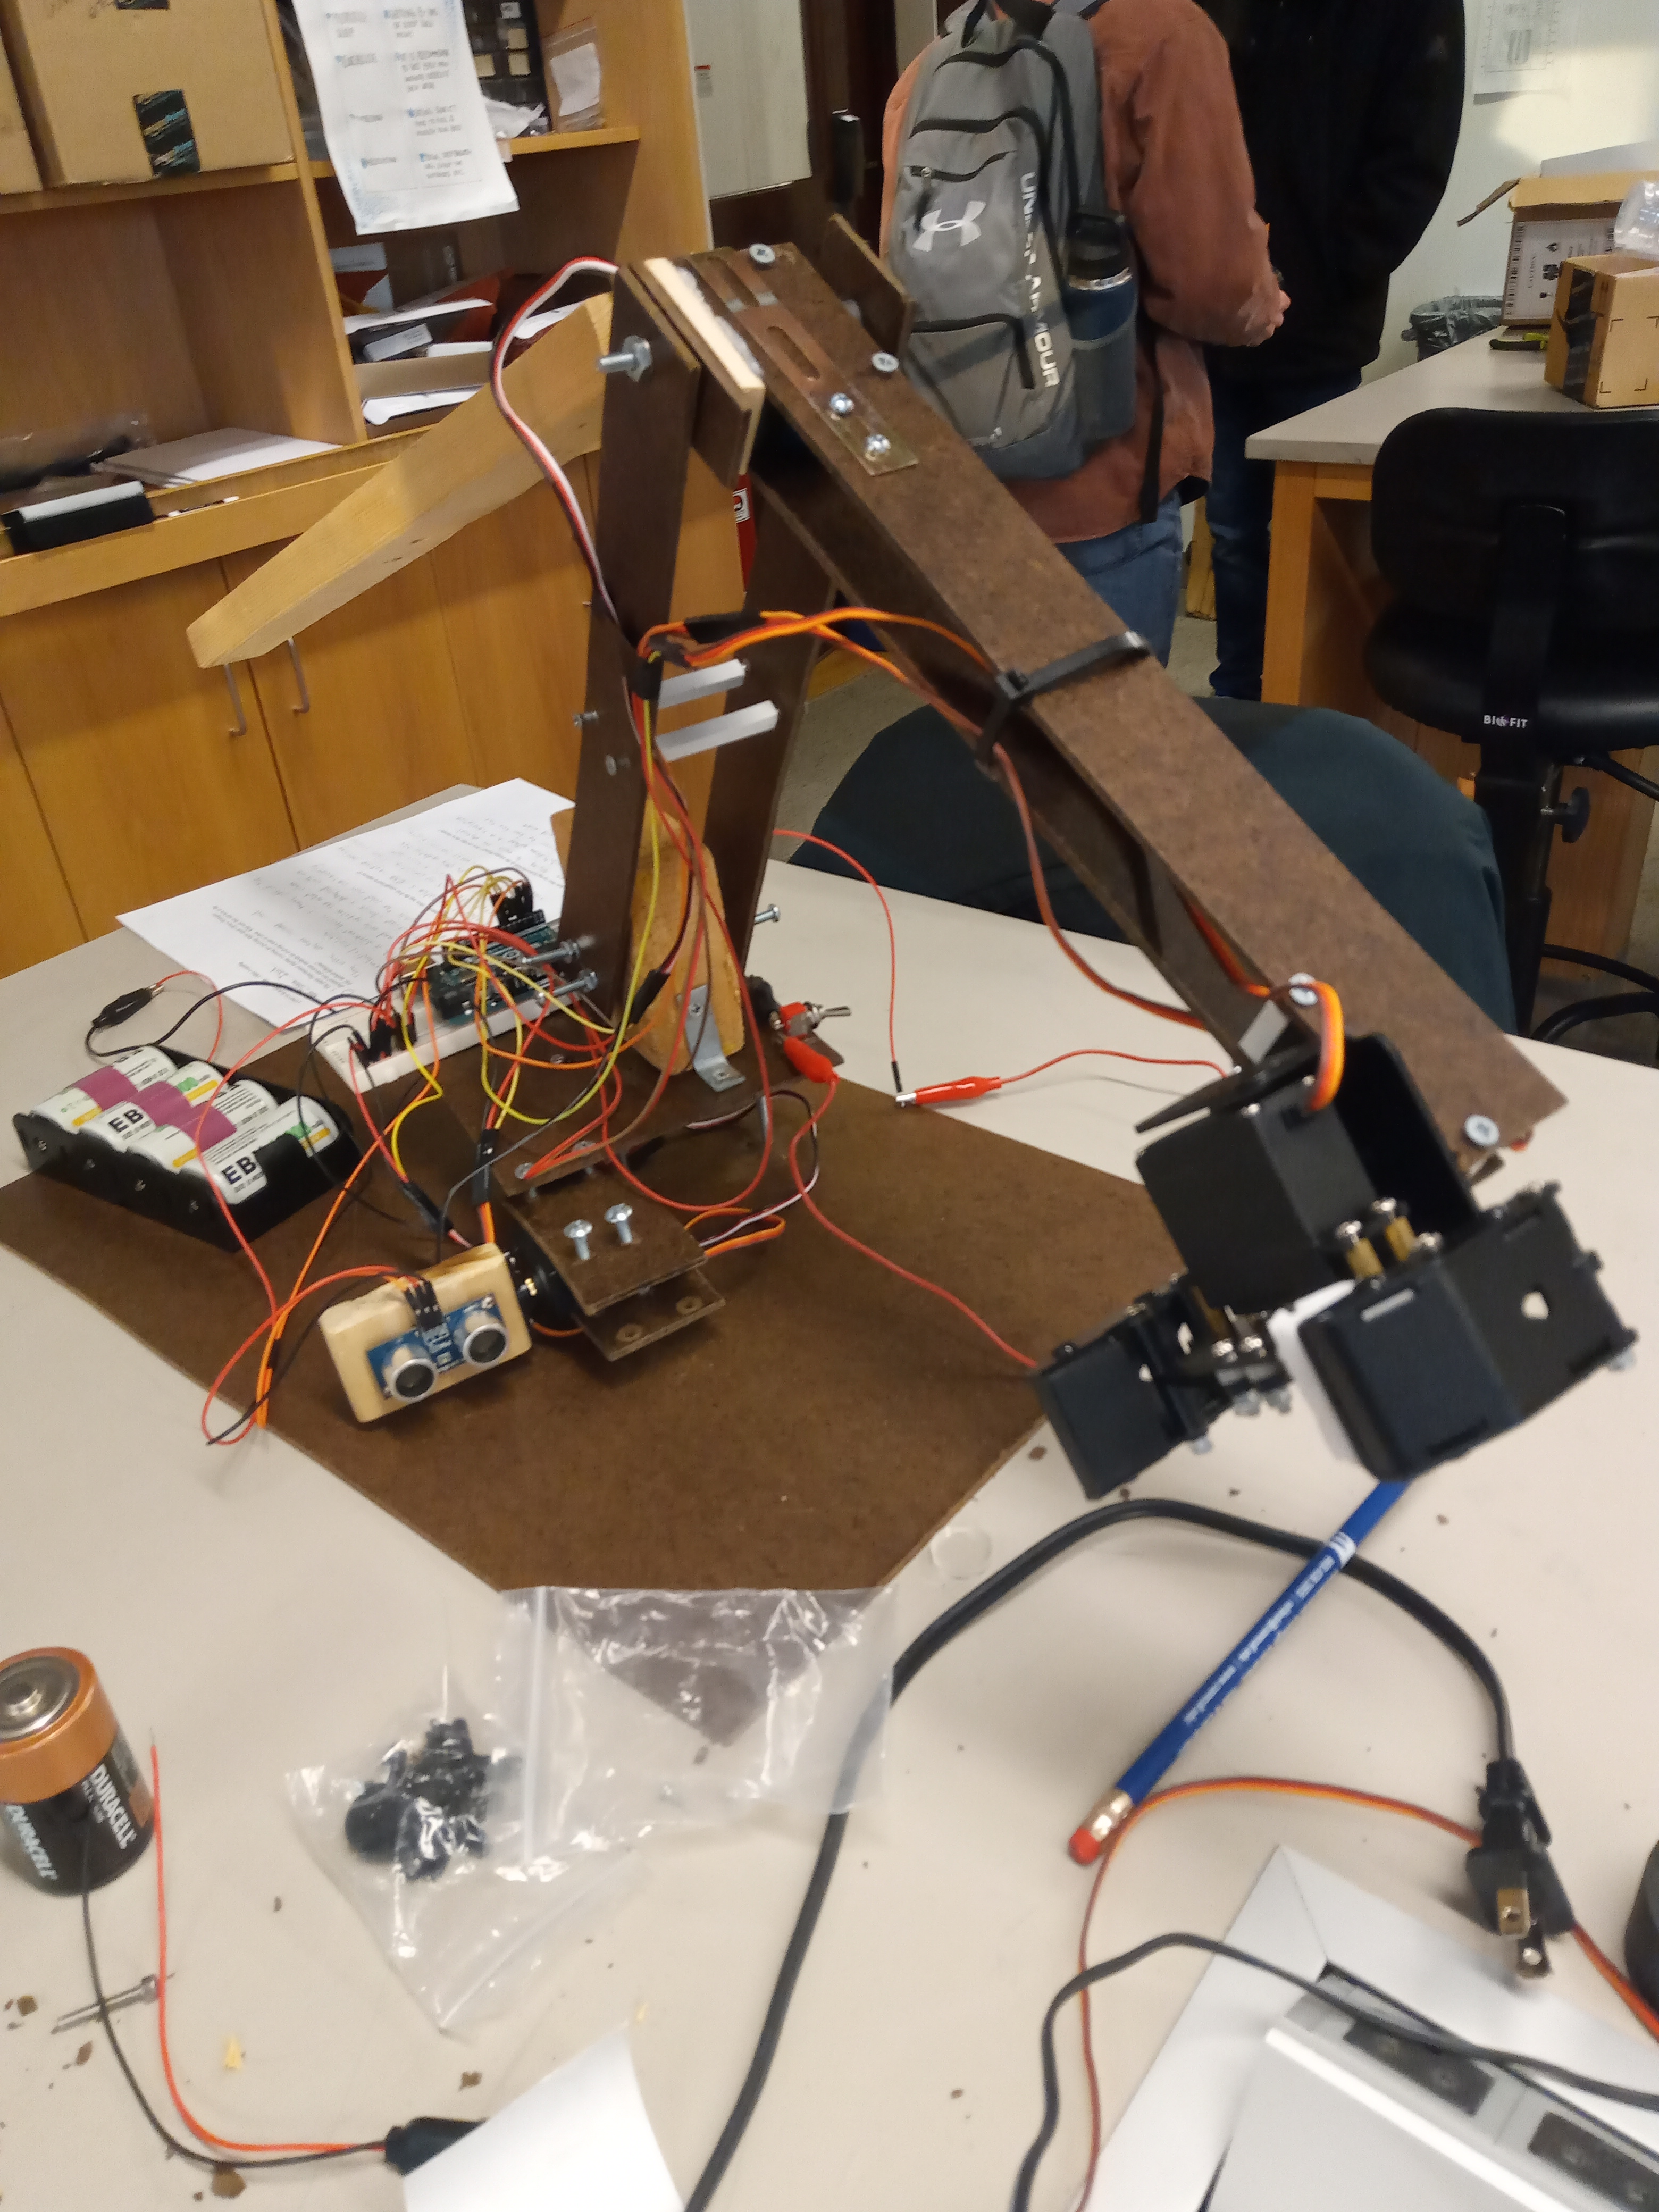
1. We drew out a stencil on a plank of wood then cut them out using a jigsaw
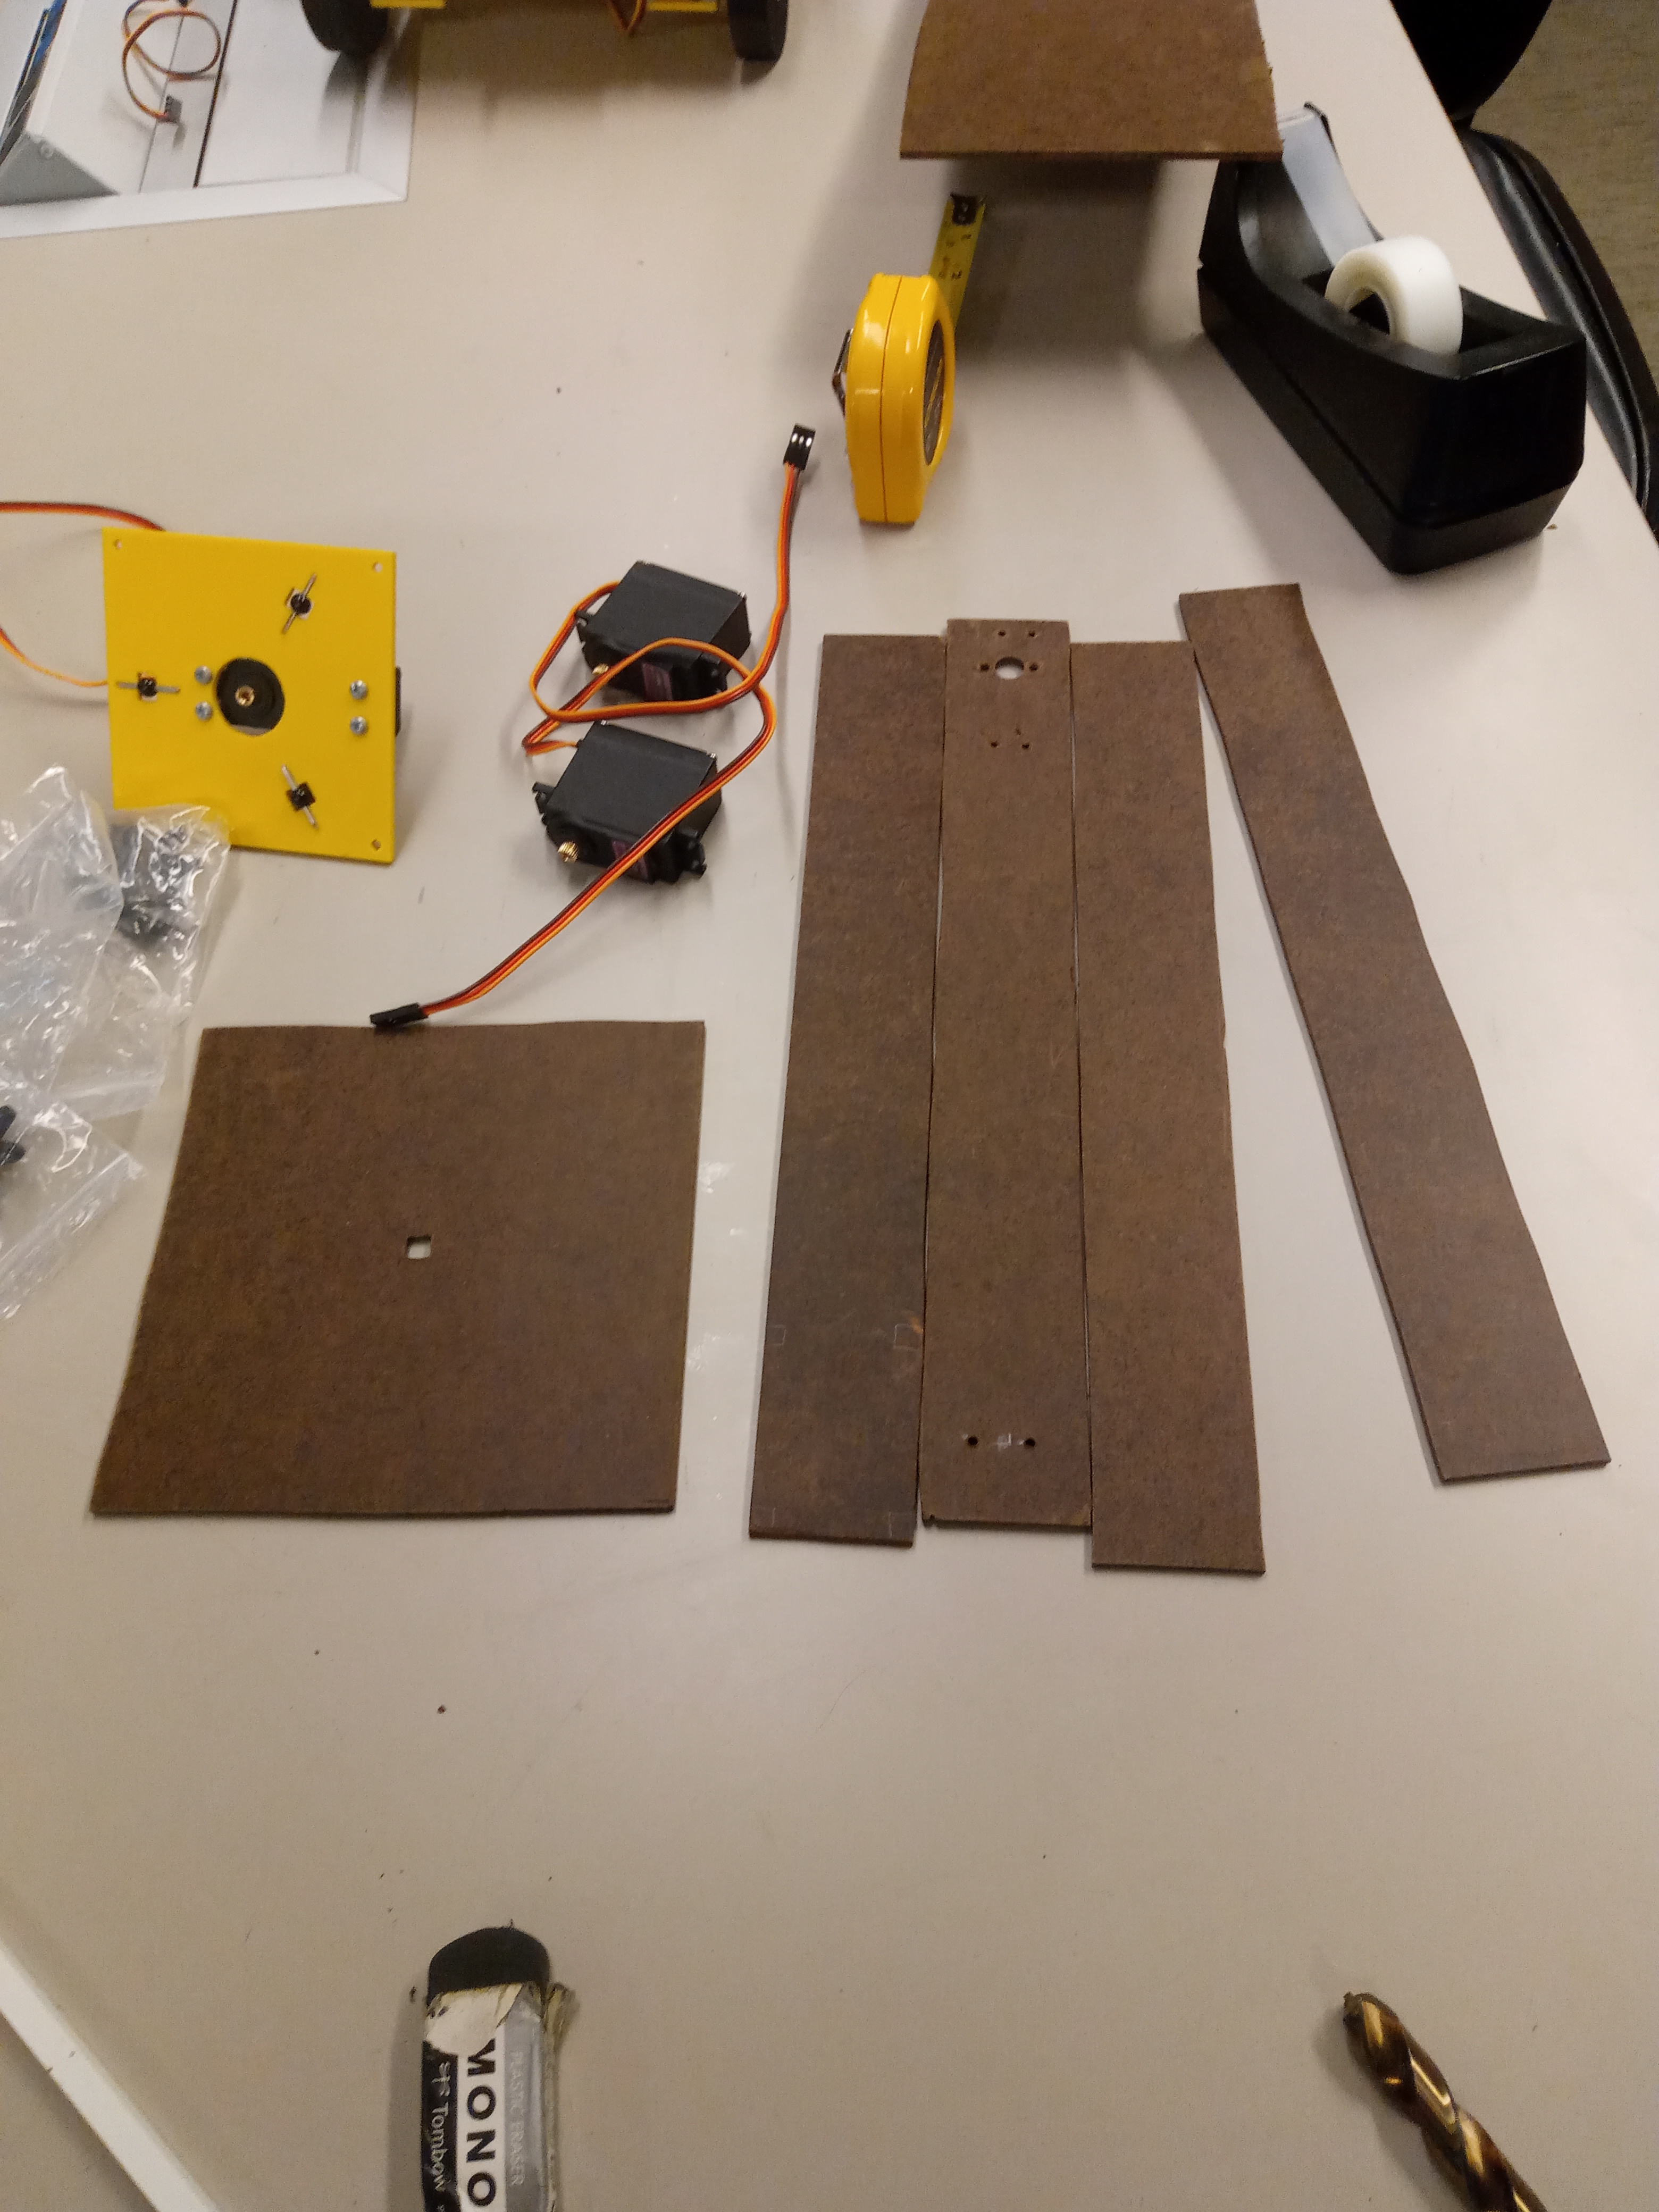
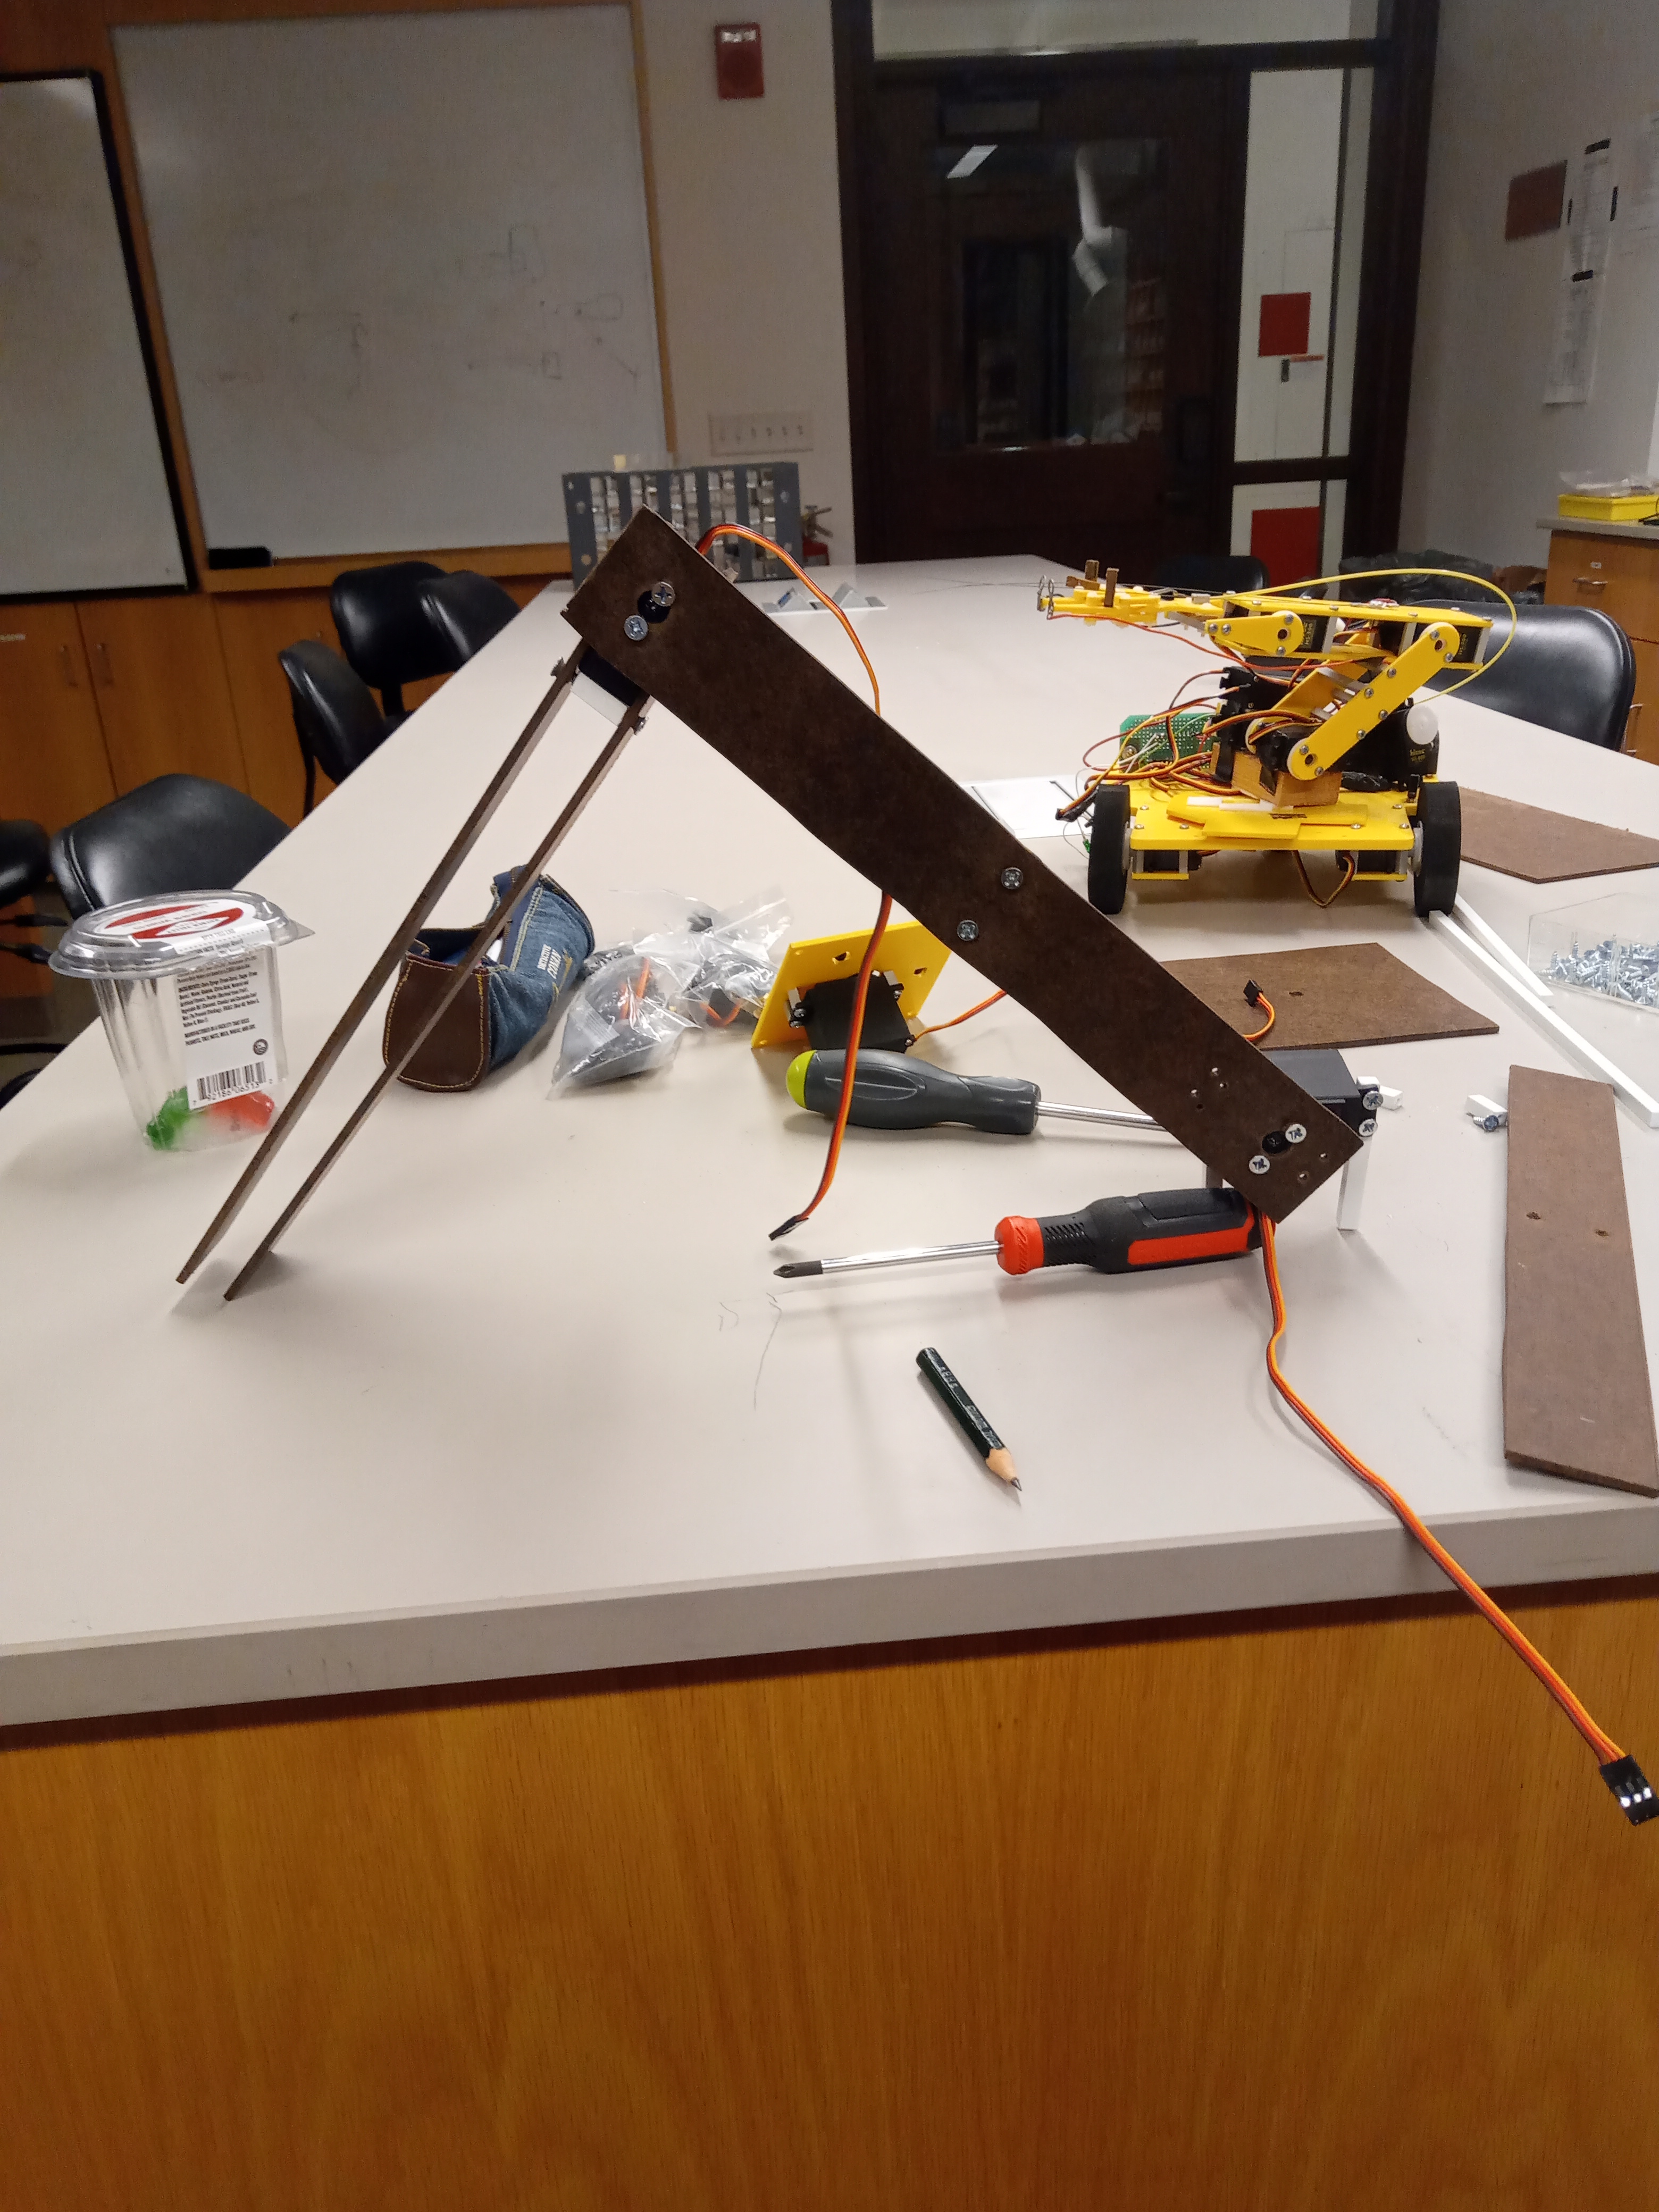
2. The two arm pieces were connected together with screws and square plastic gap-filler
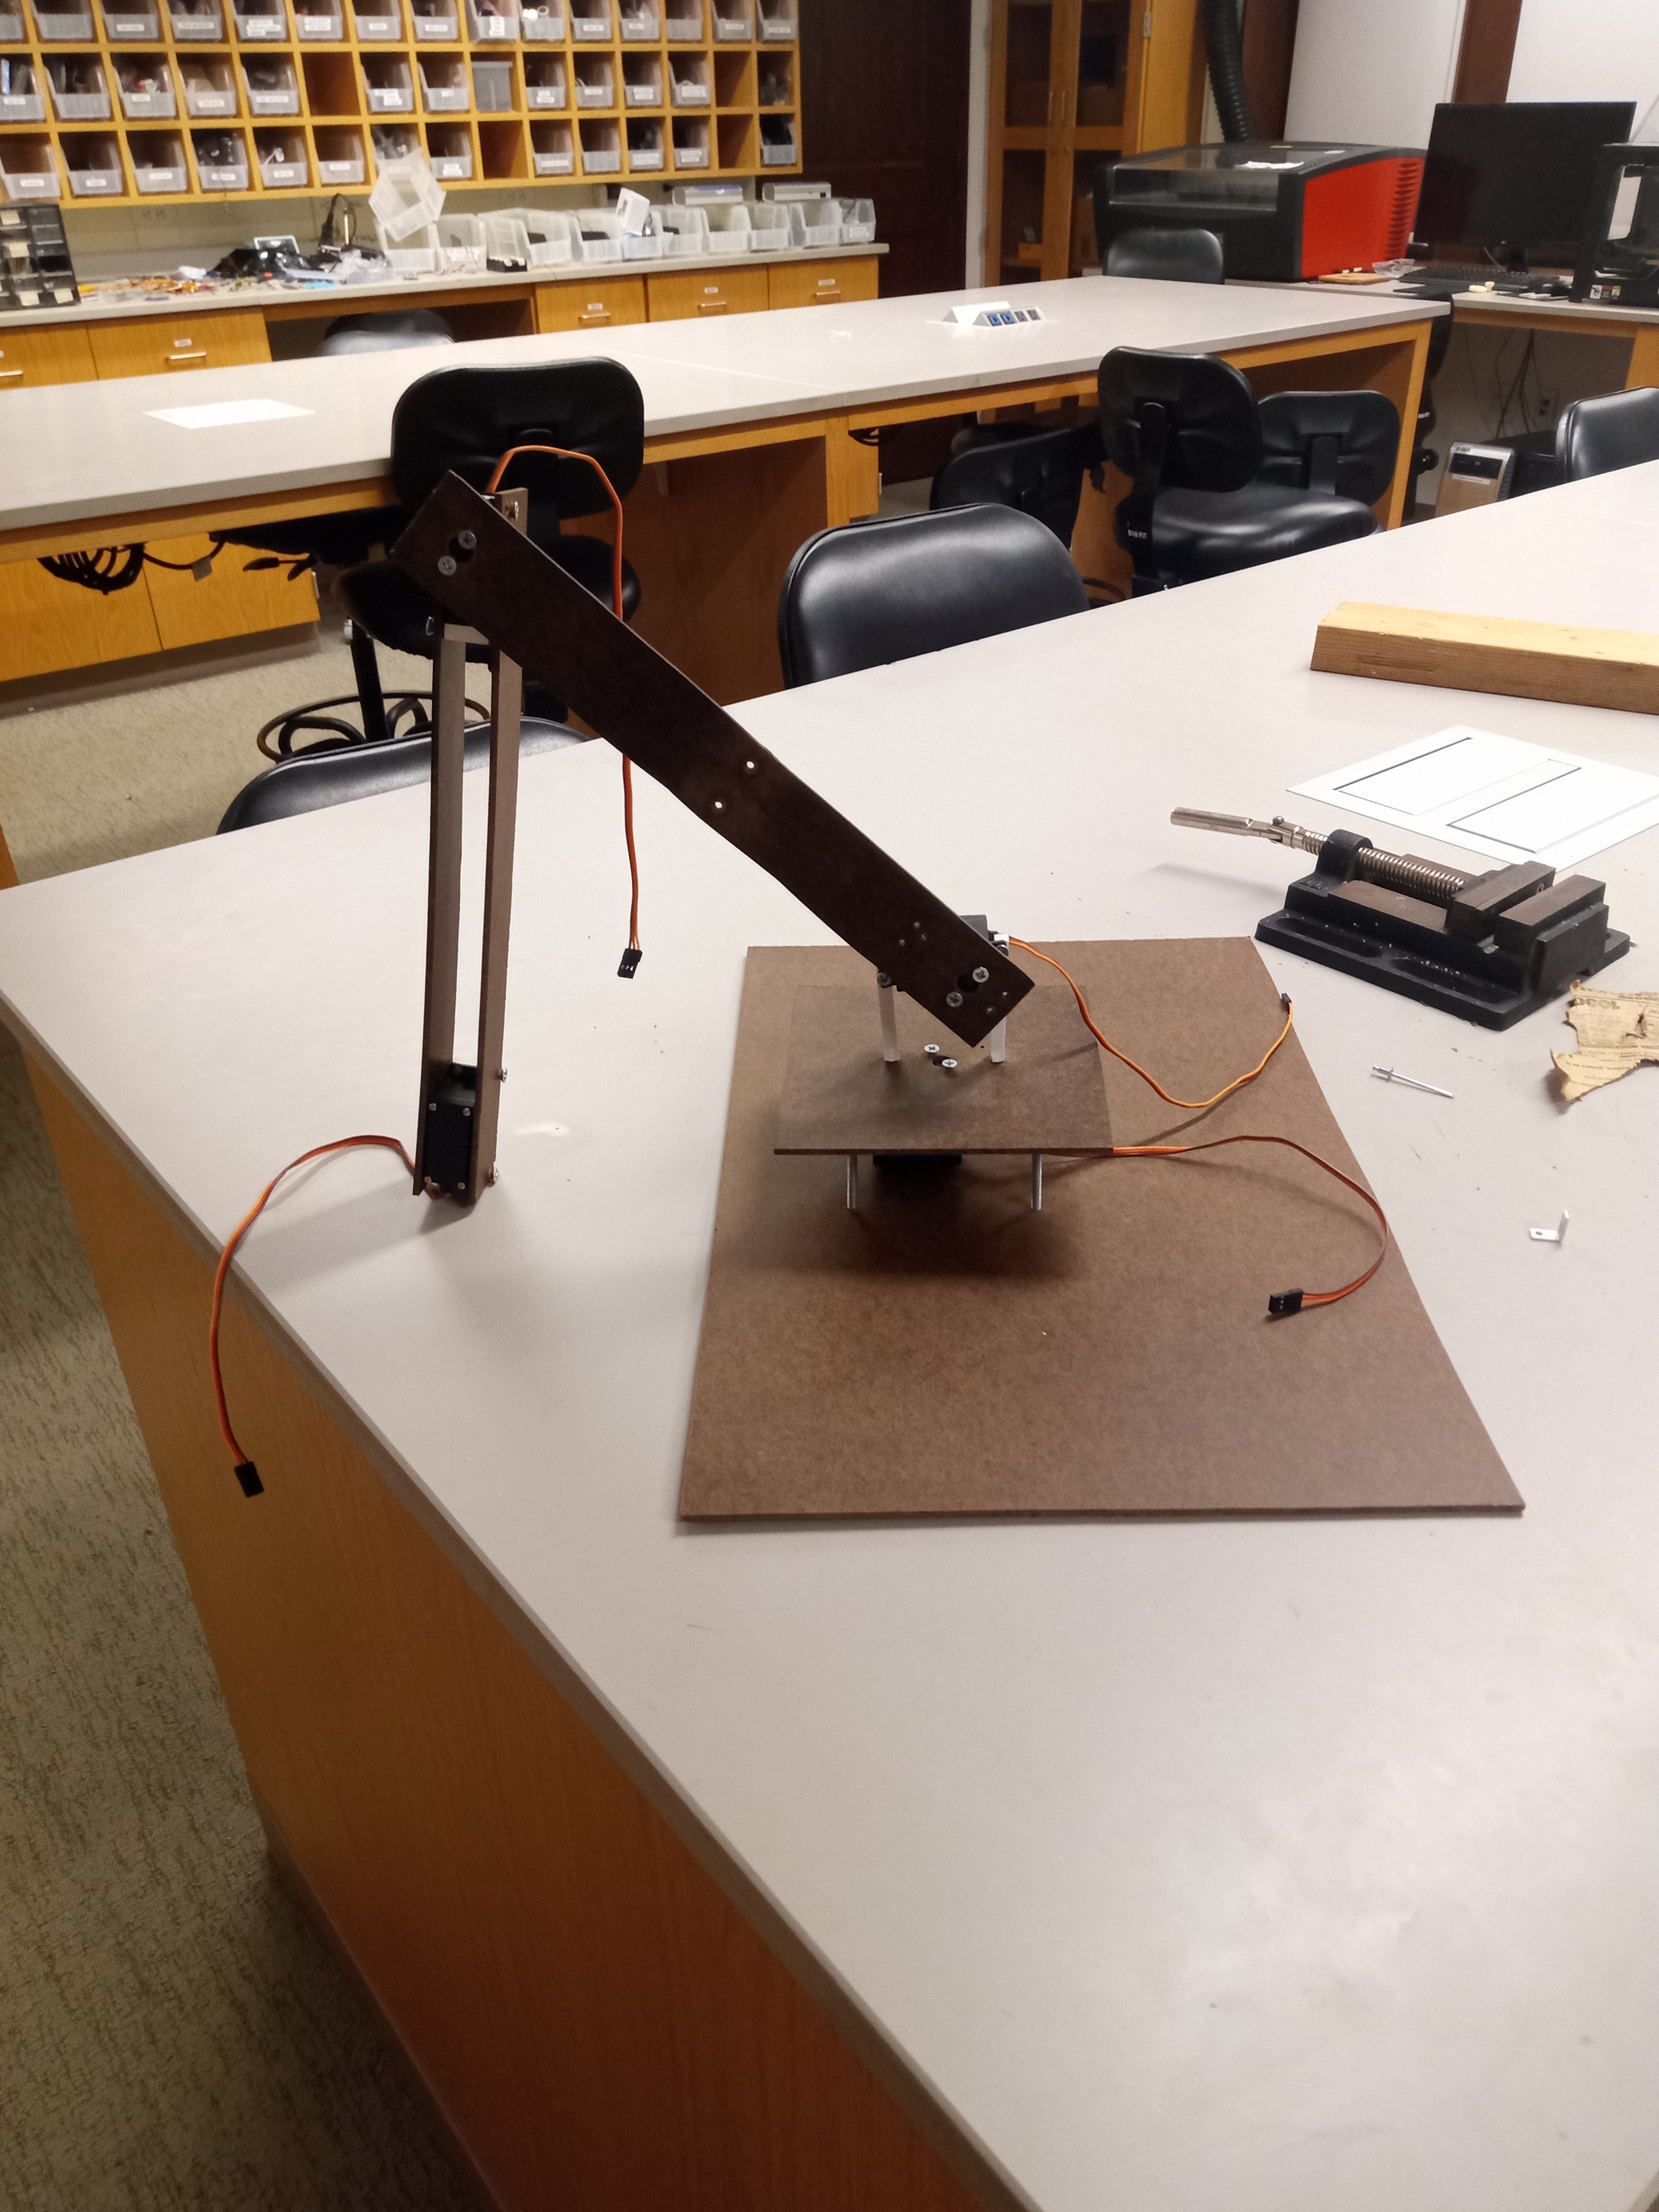
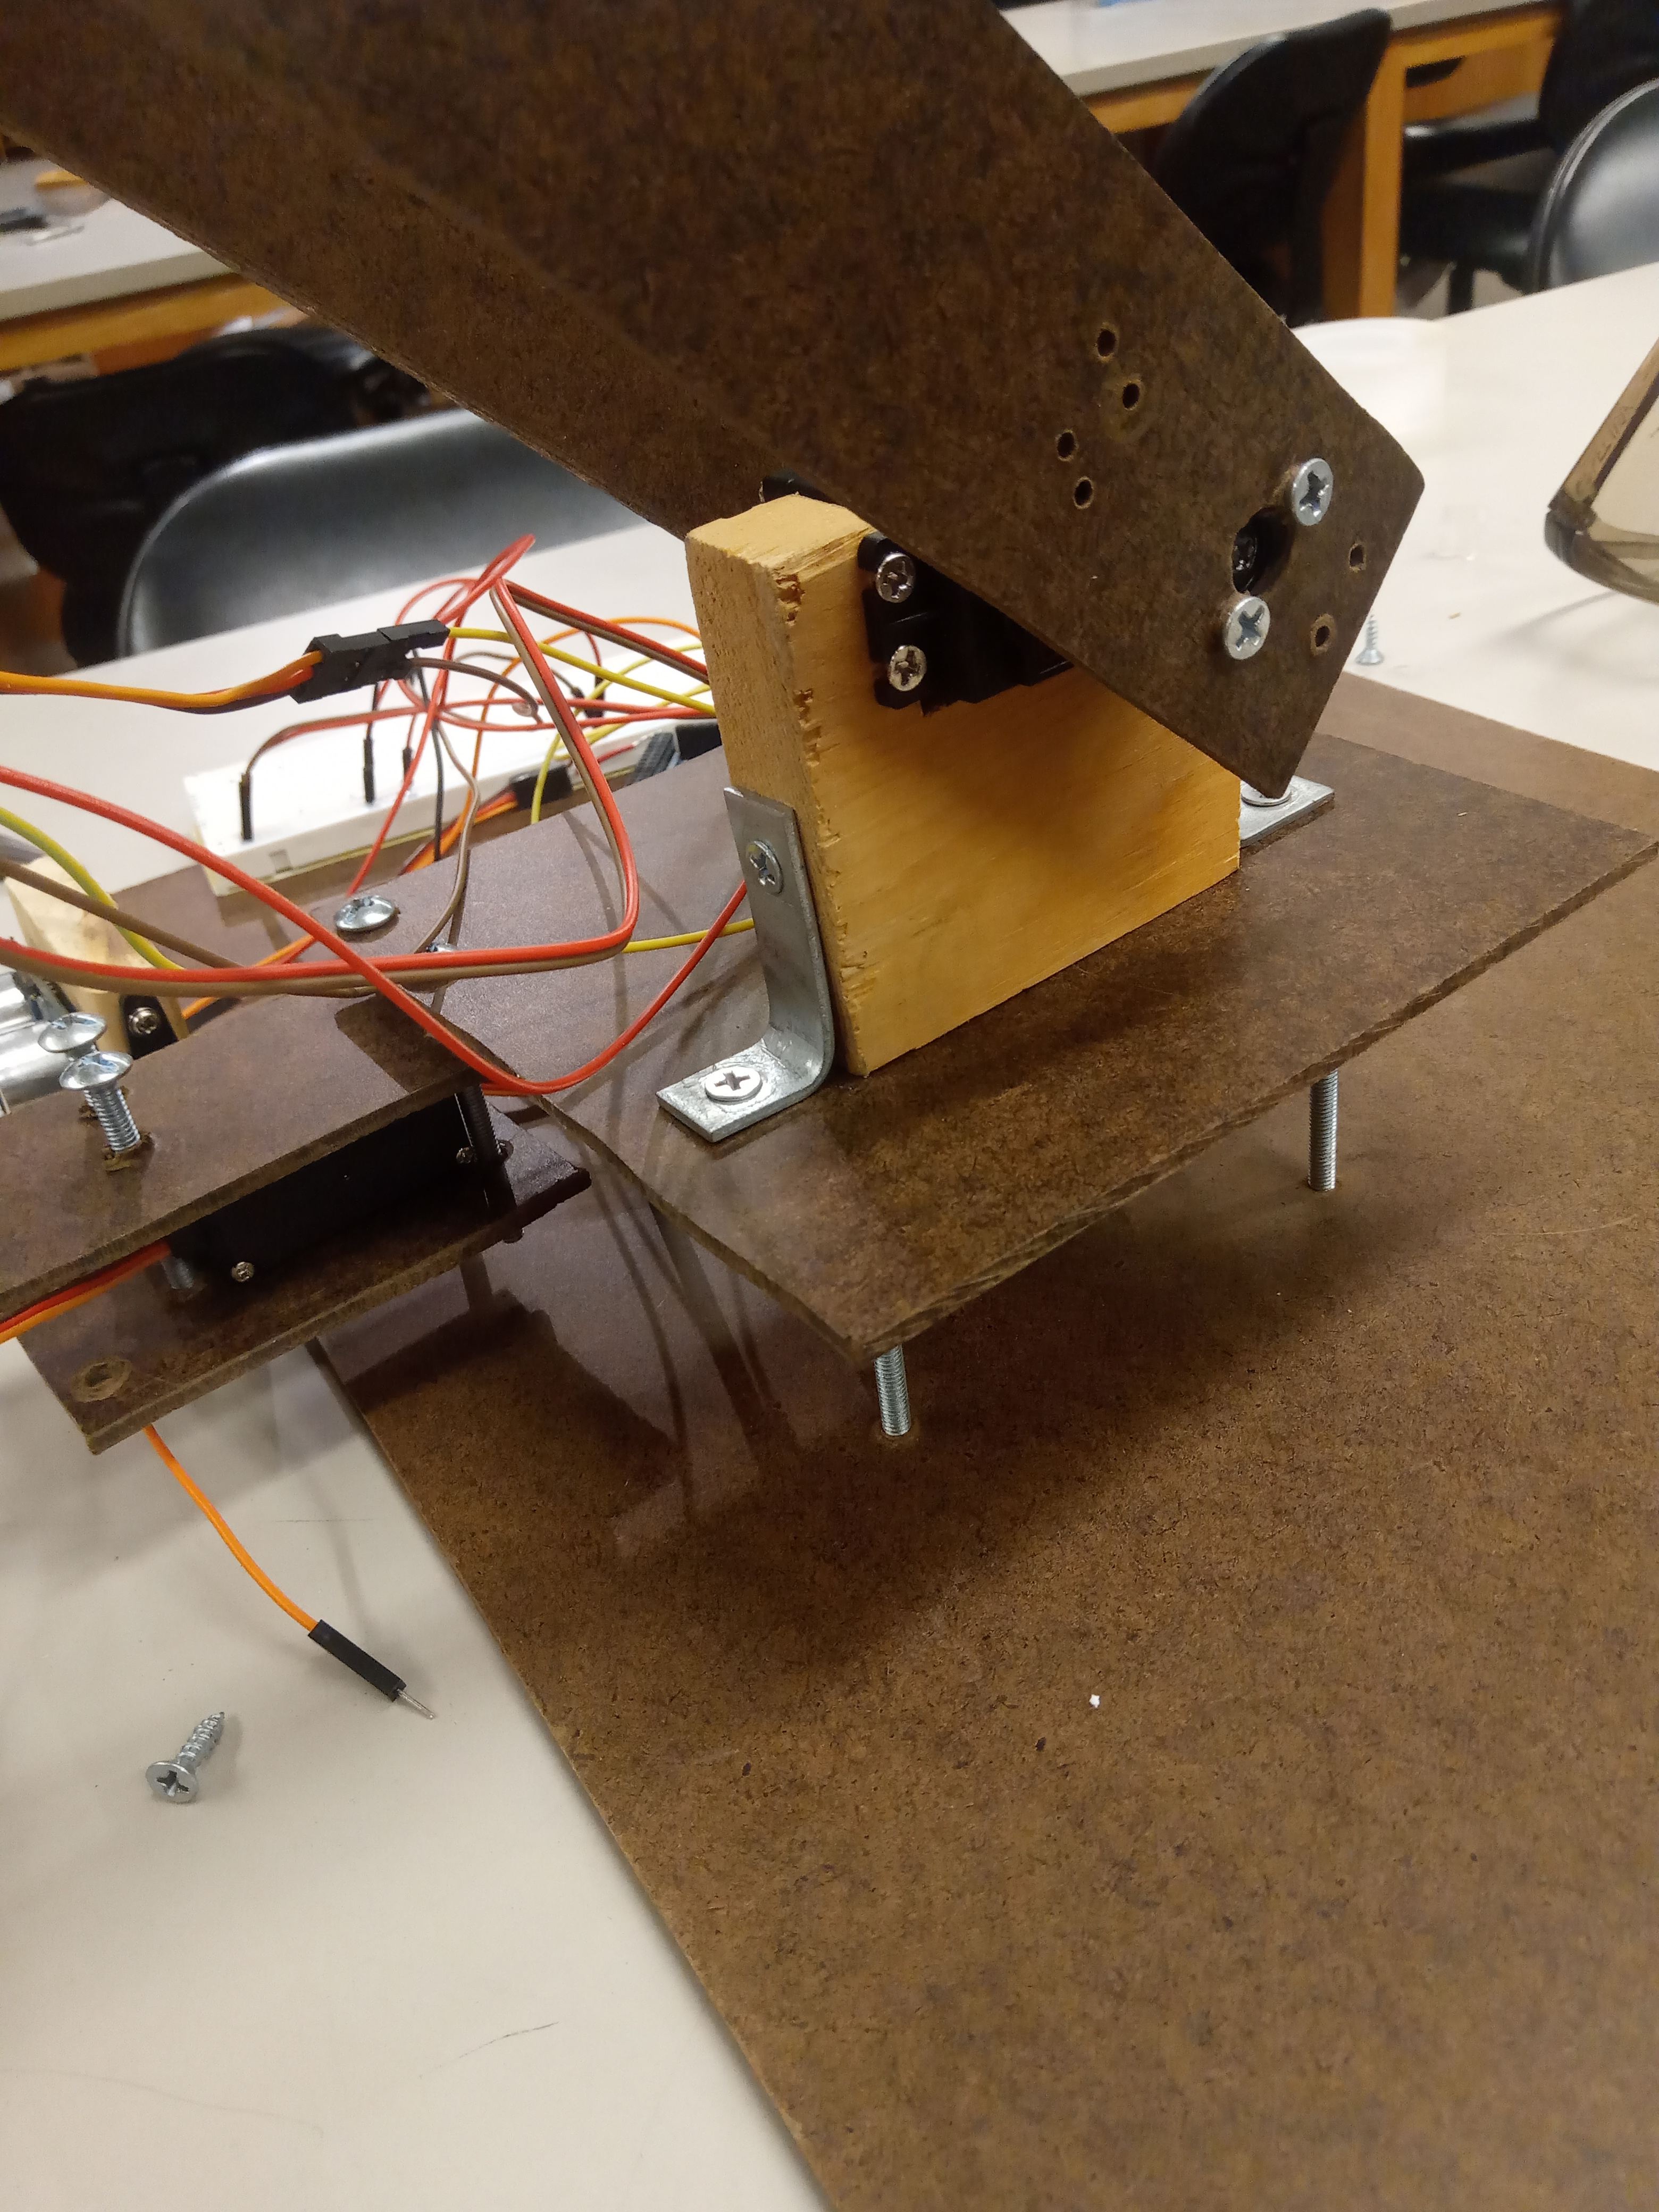
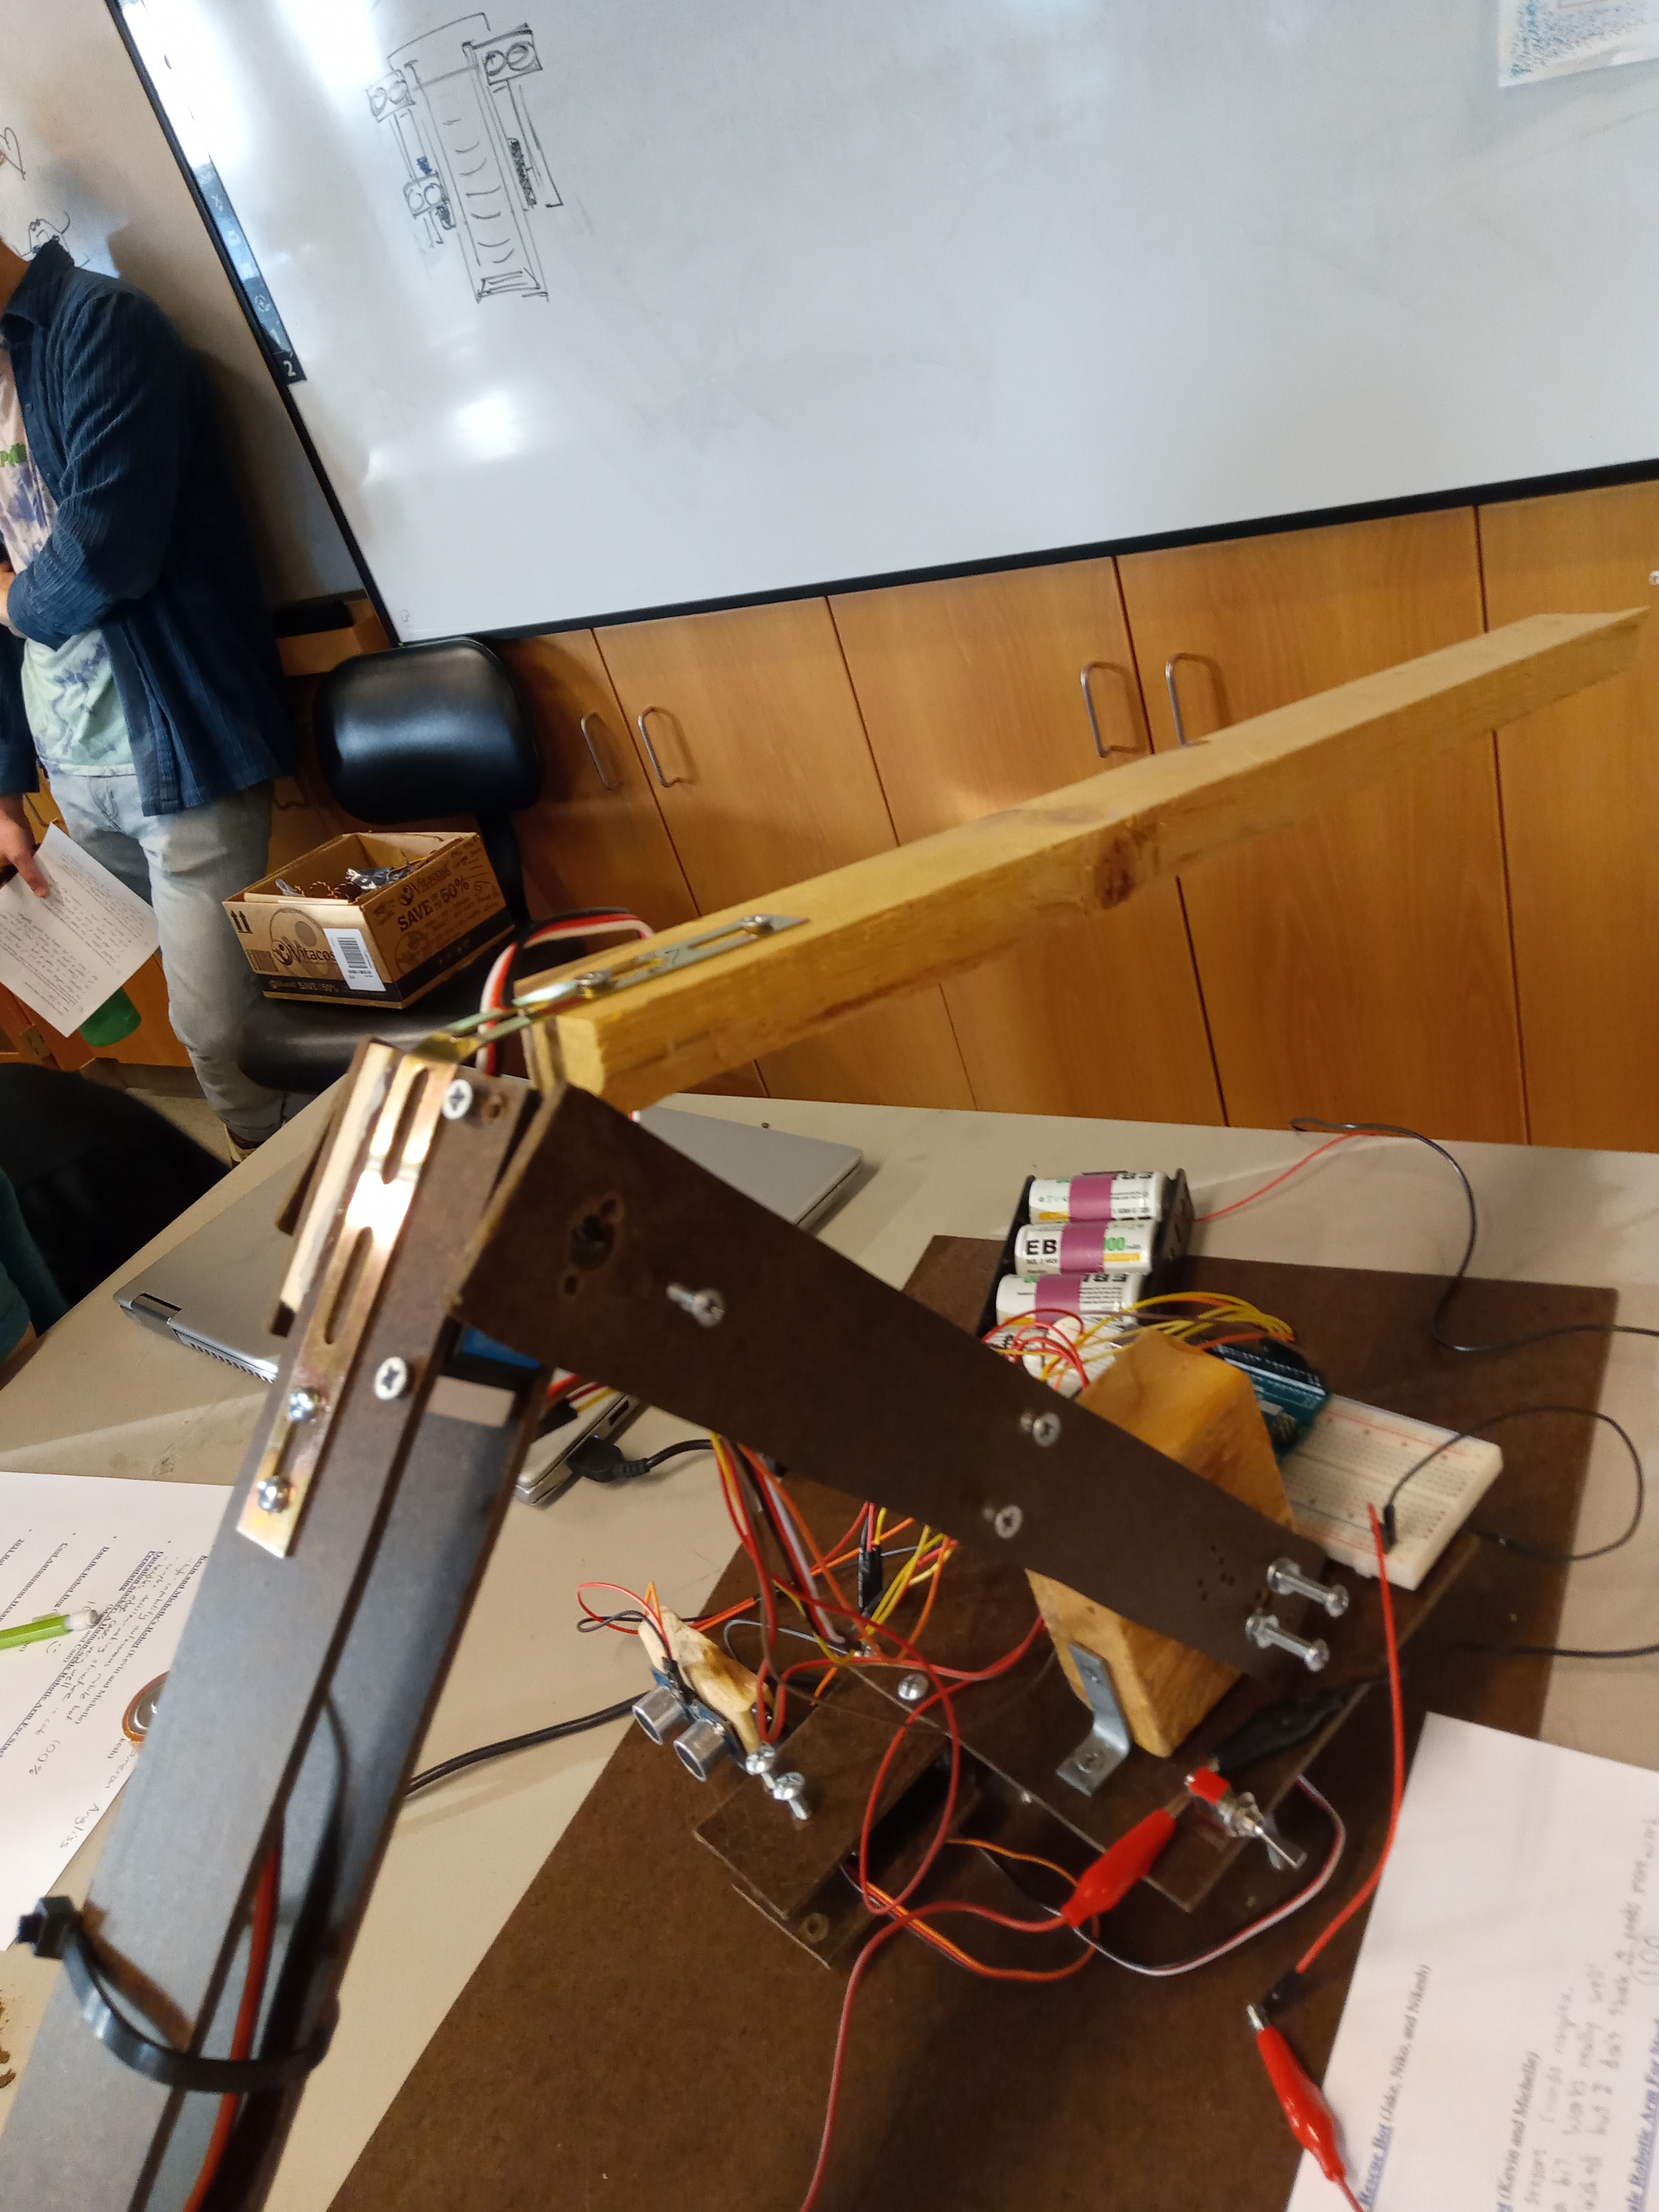
3. We salvaged a yellow base from another older project and attached it to a large piece of wood with bolts to give the finished arm stability
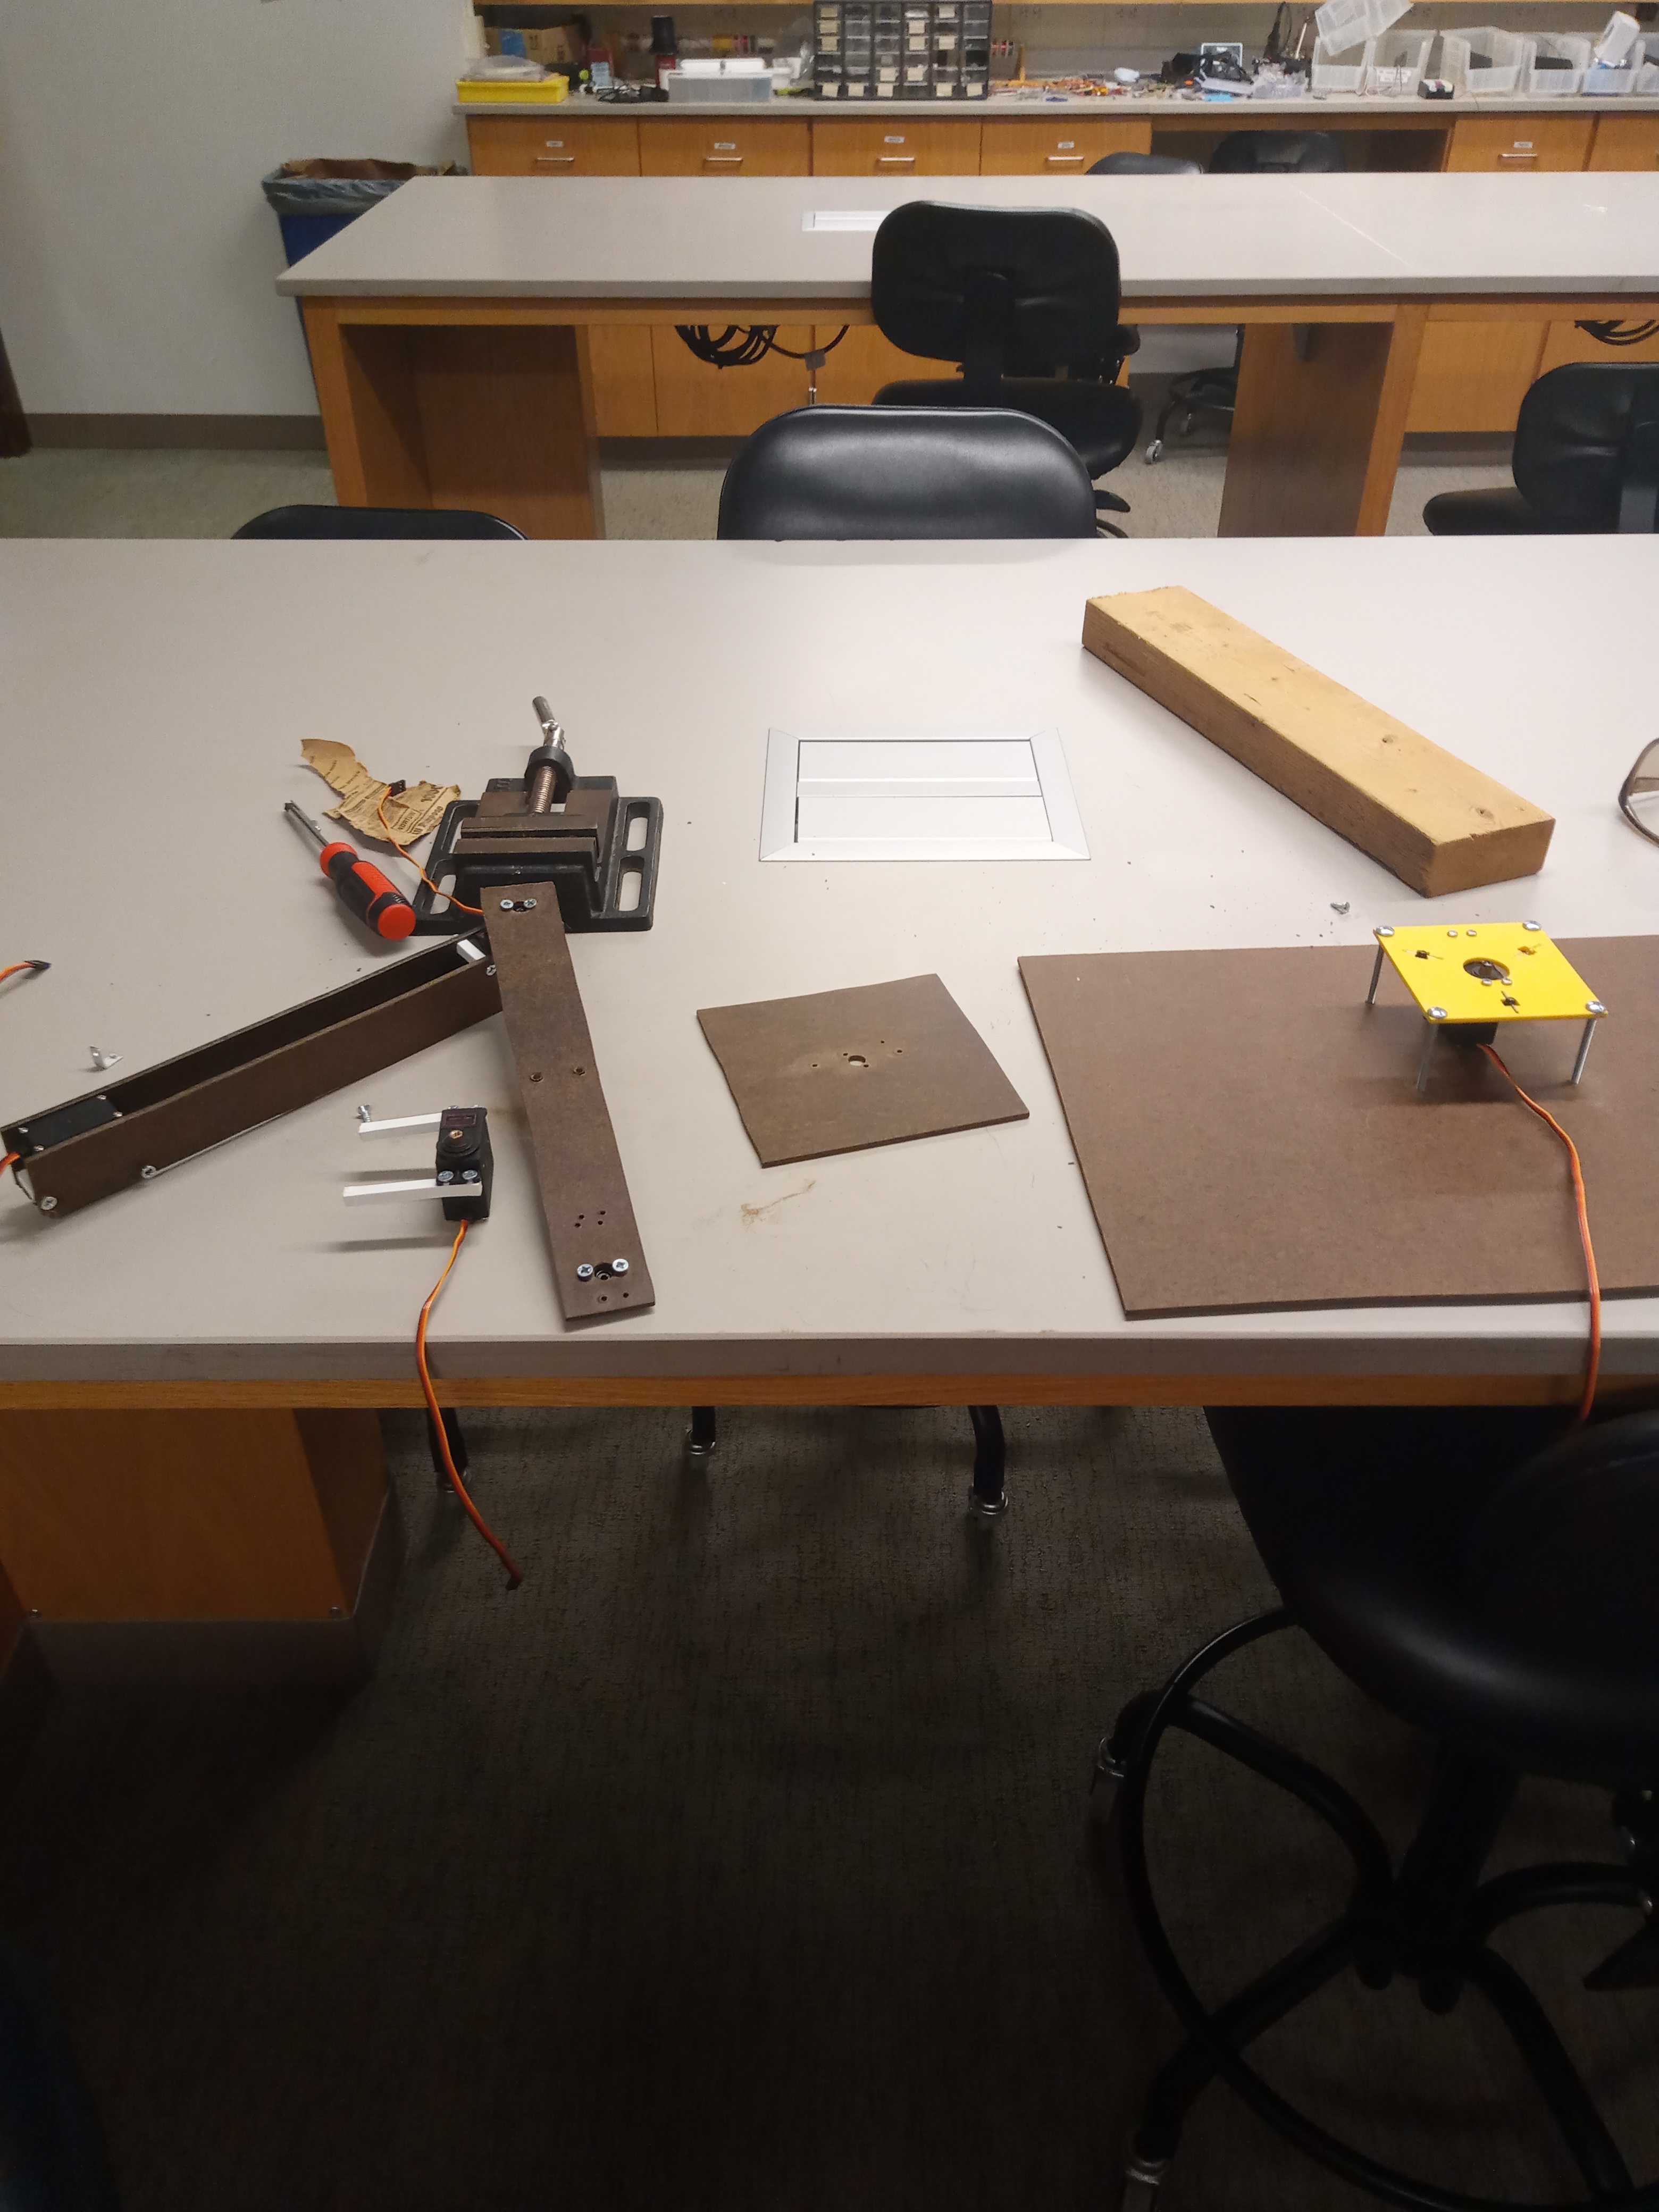
4. We attached the arm to the base with screws and plastic hole filler. It is quite unstable
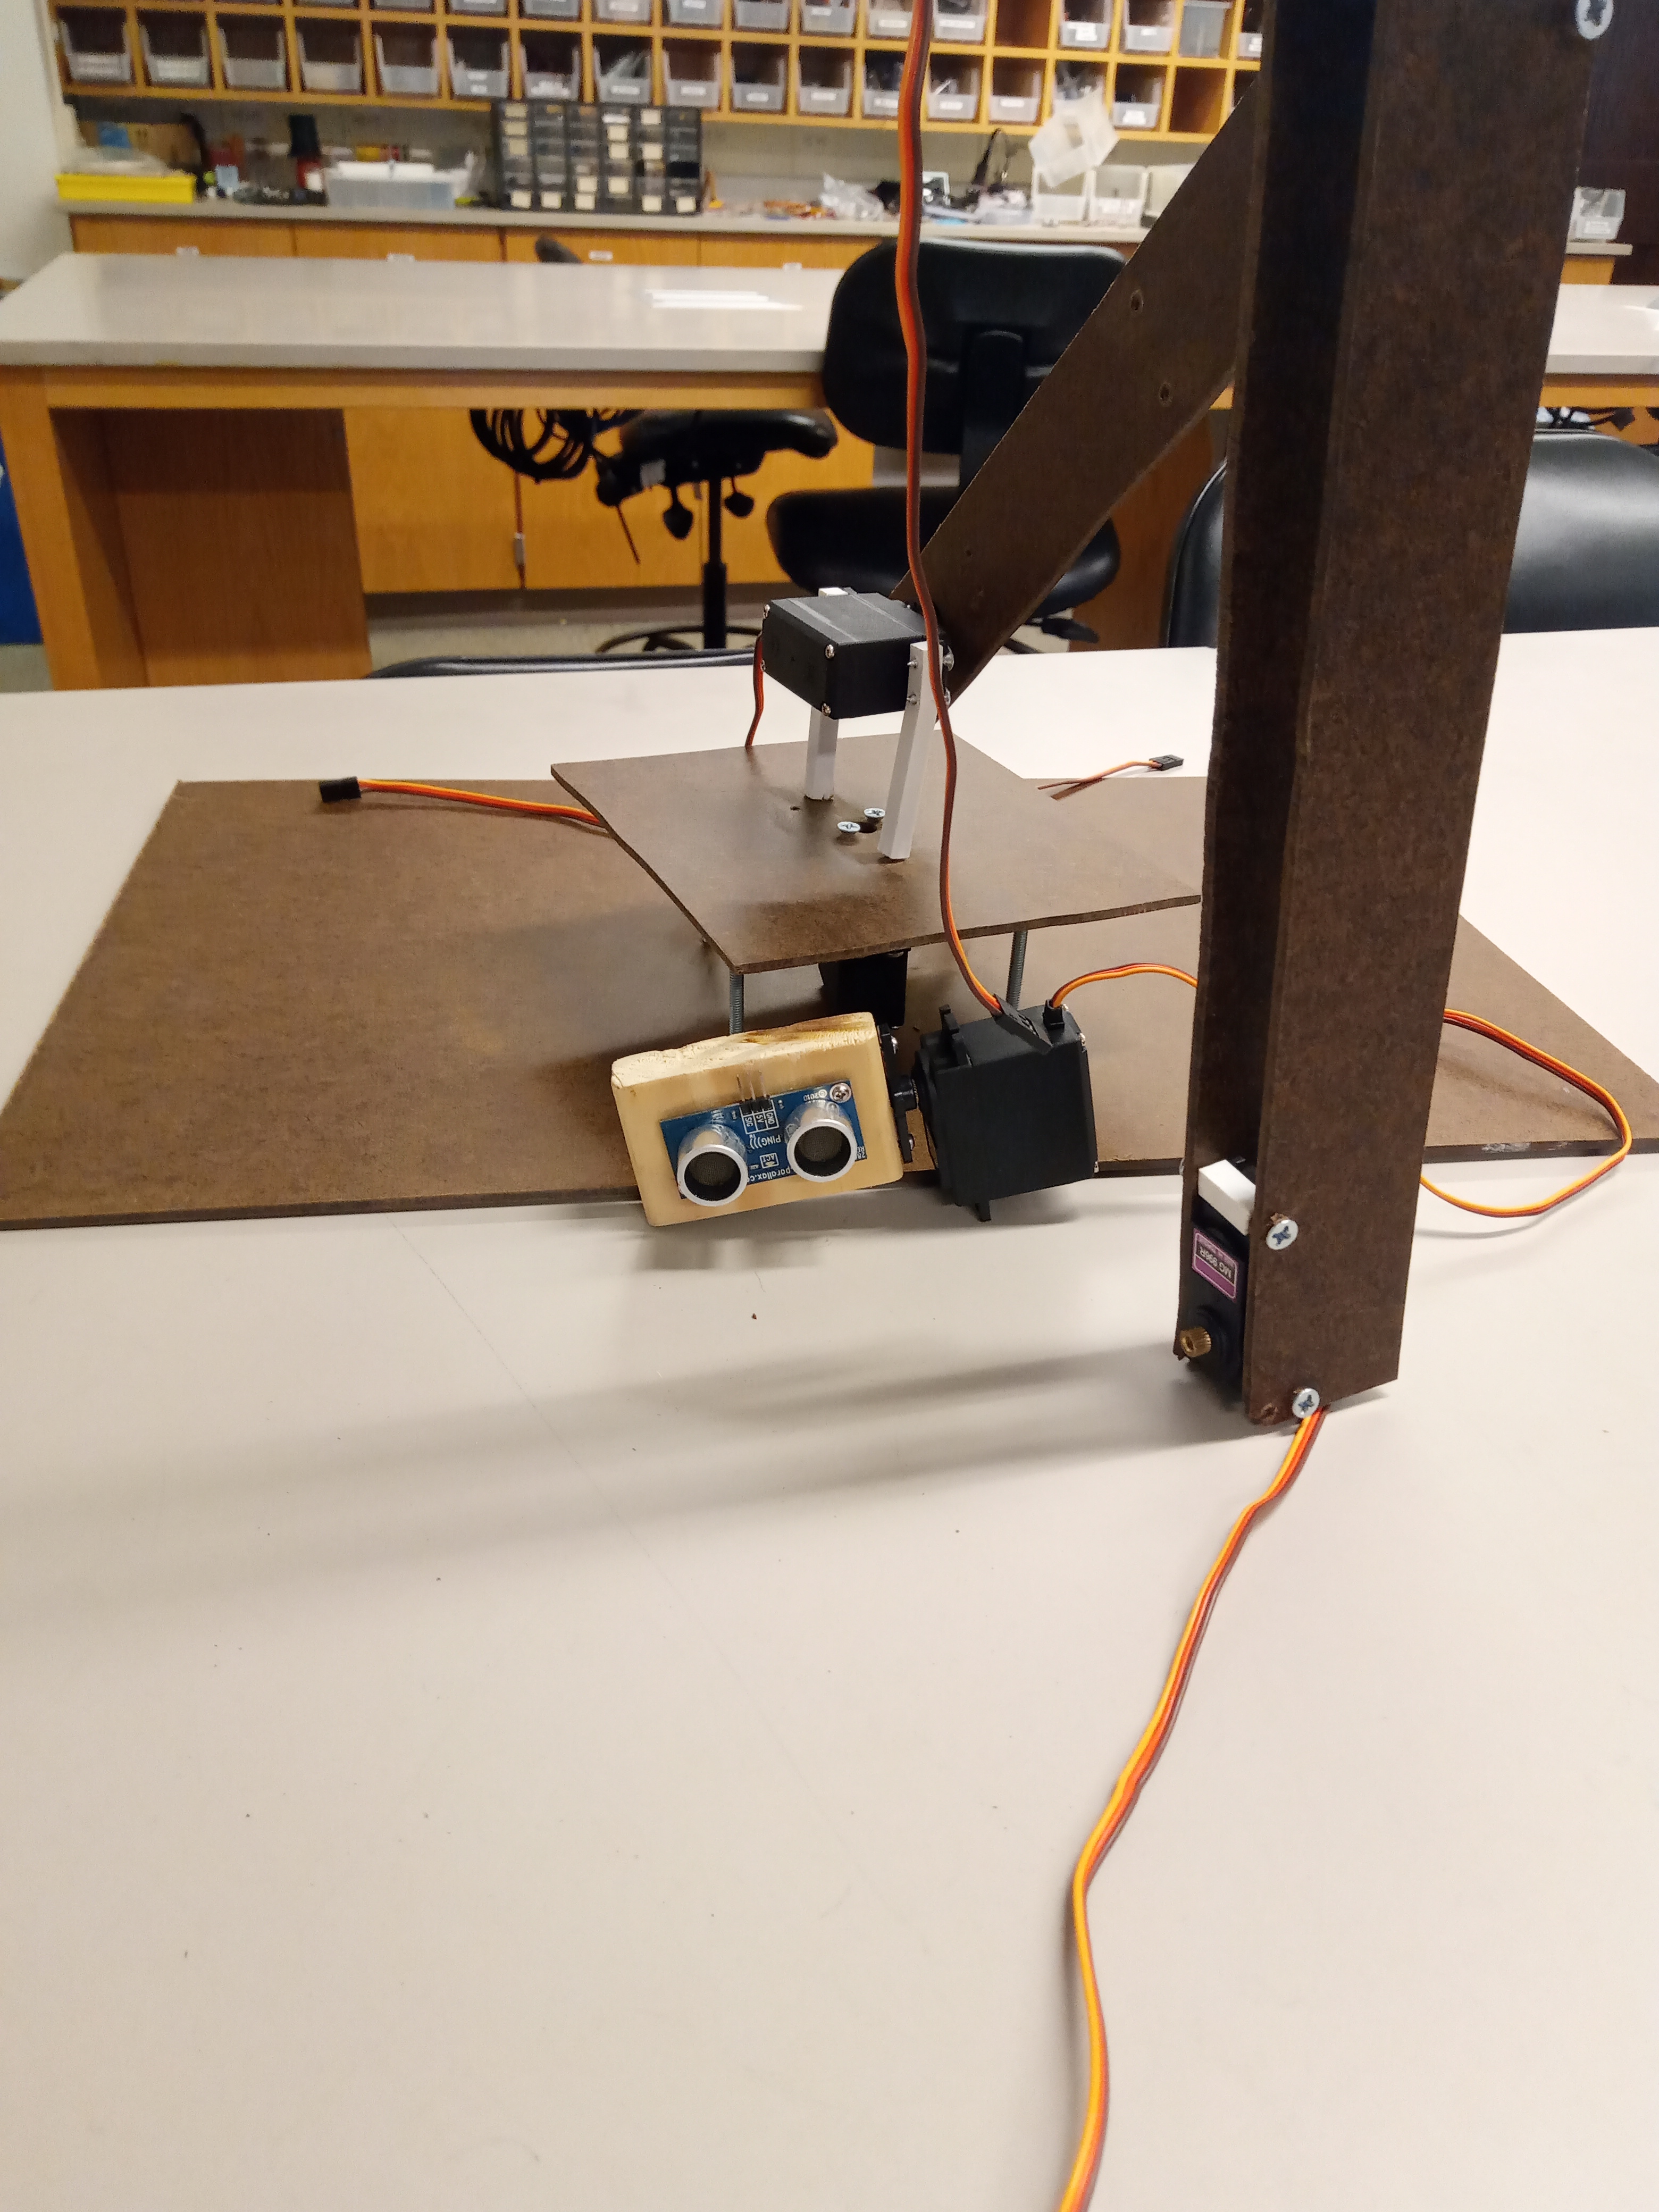
5. Proximity sensor constructed but not attached. It will eventually be attached to the underside of the base
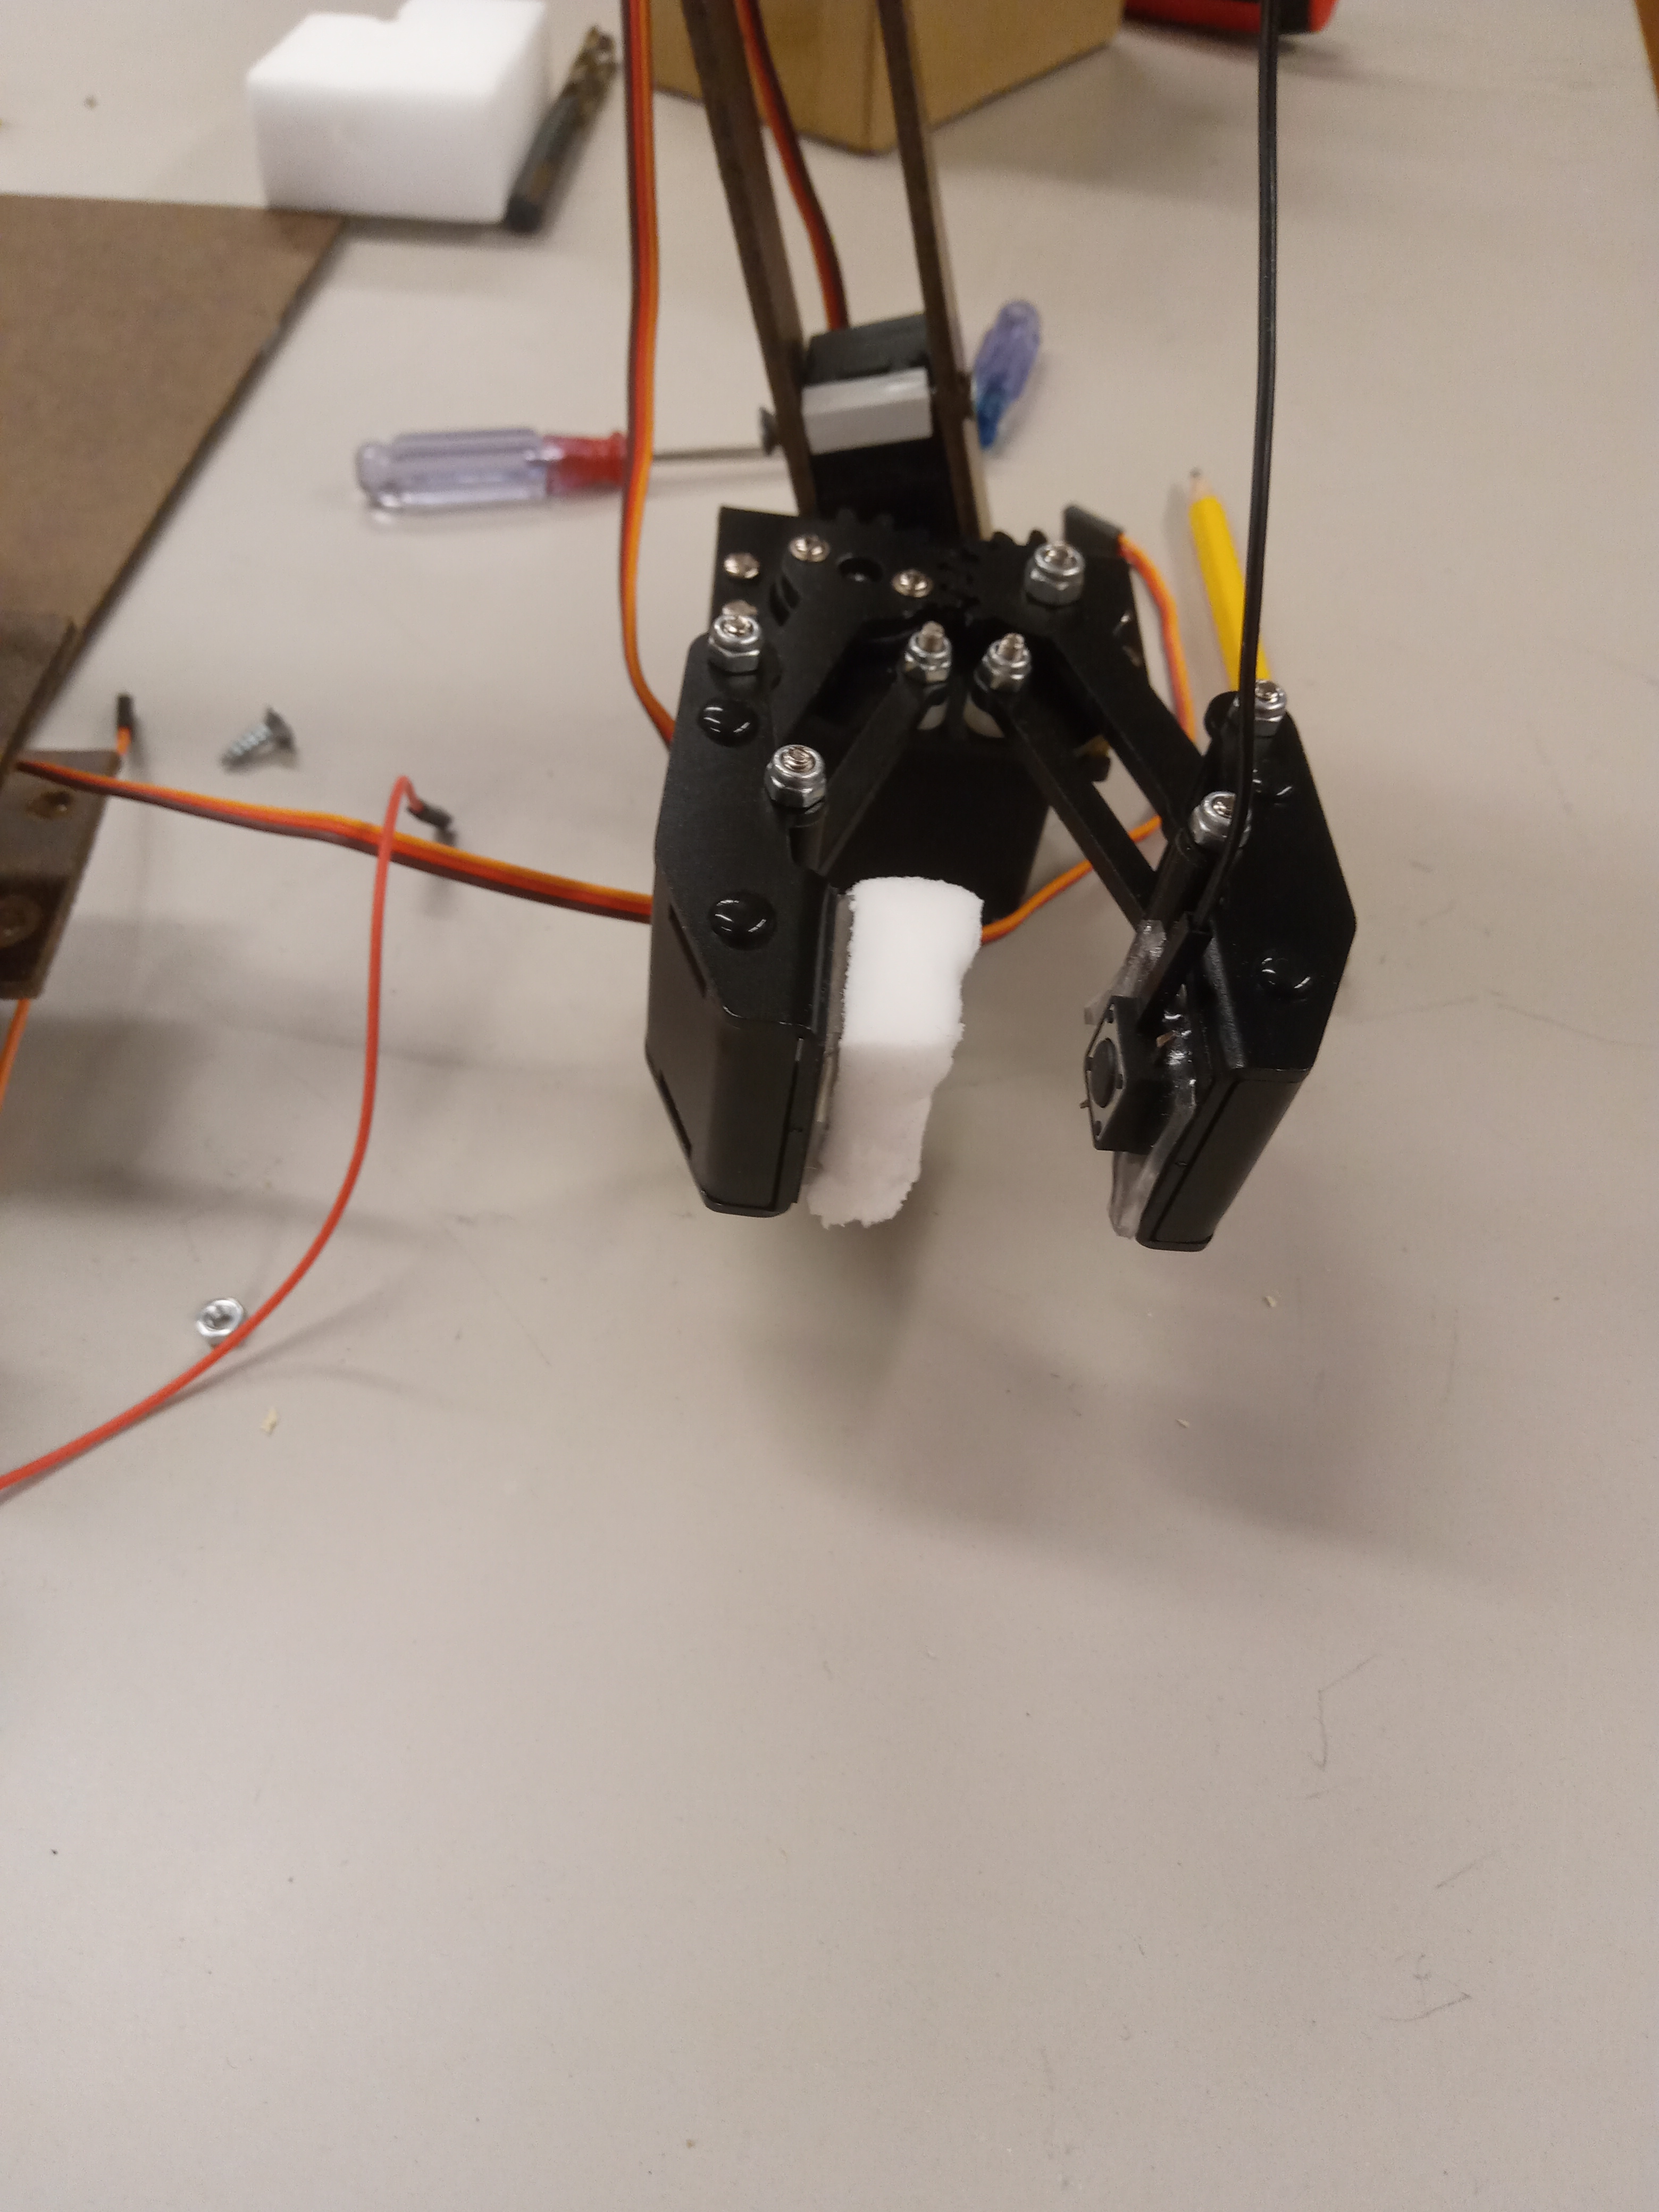
6. We ordered a metal claw online and assembled and attached it to the end of the arm. We also added support for the lower arm
7. Foam and button attached to claw for grip and touch sensing. We eventually scrap the button but keep the foam
8. Proximity sensor secured in place with bolts
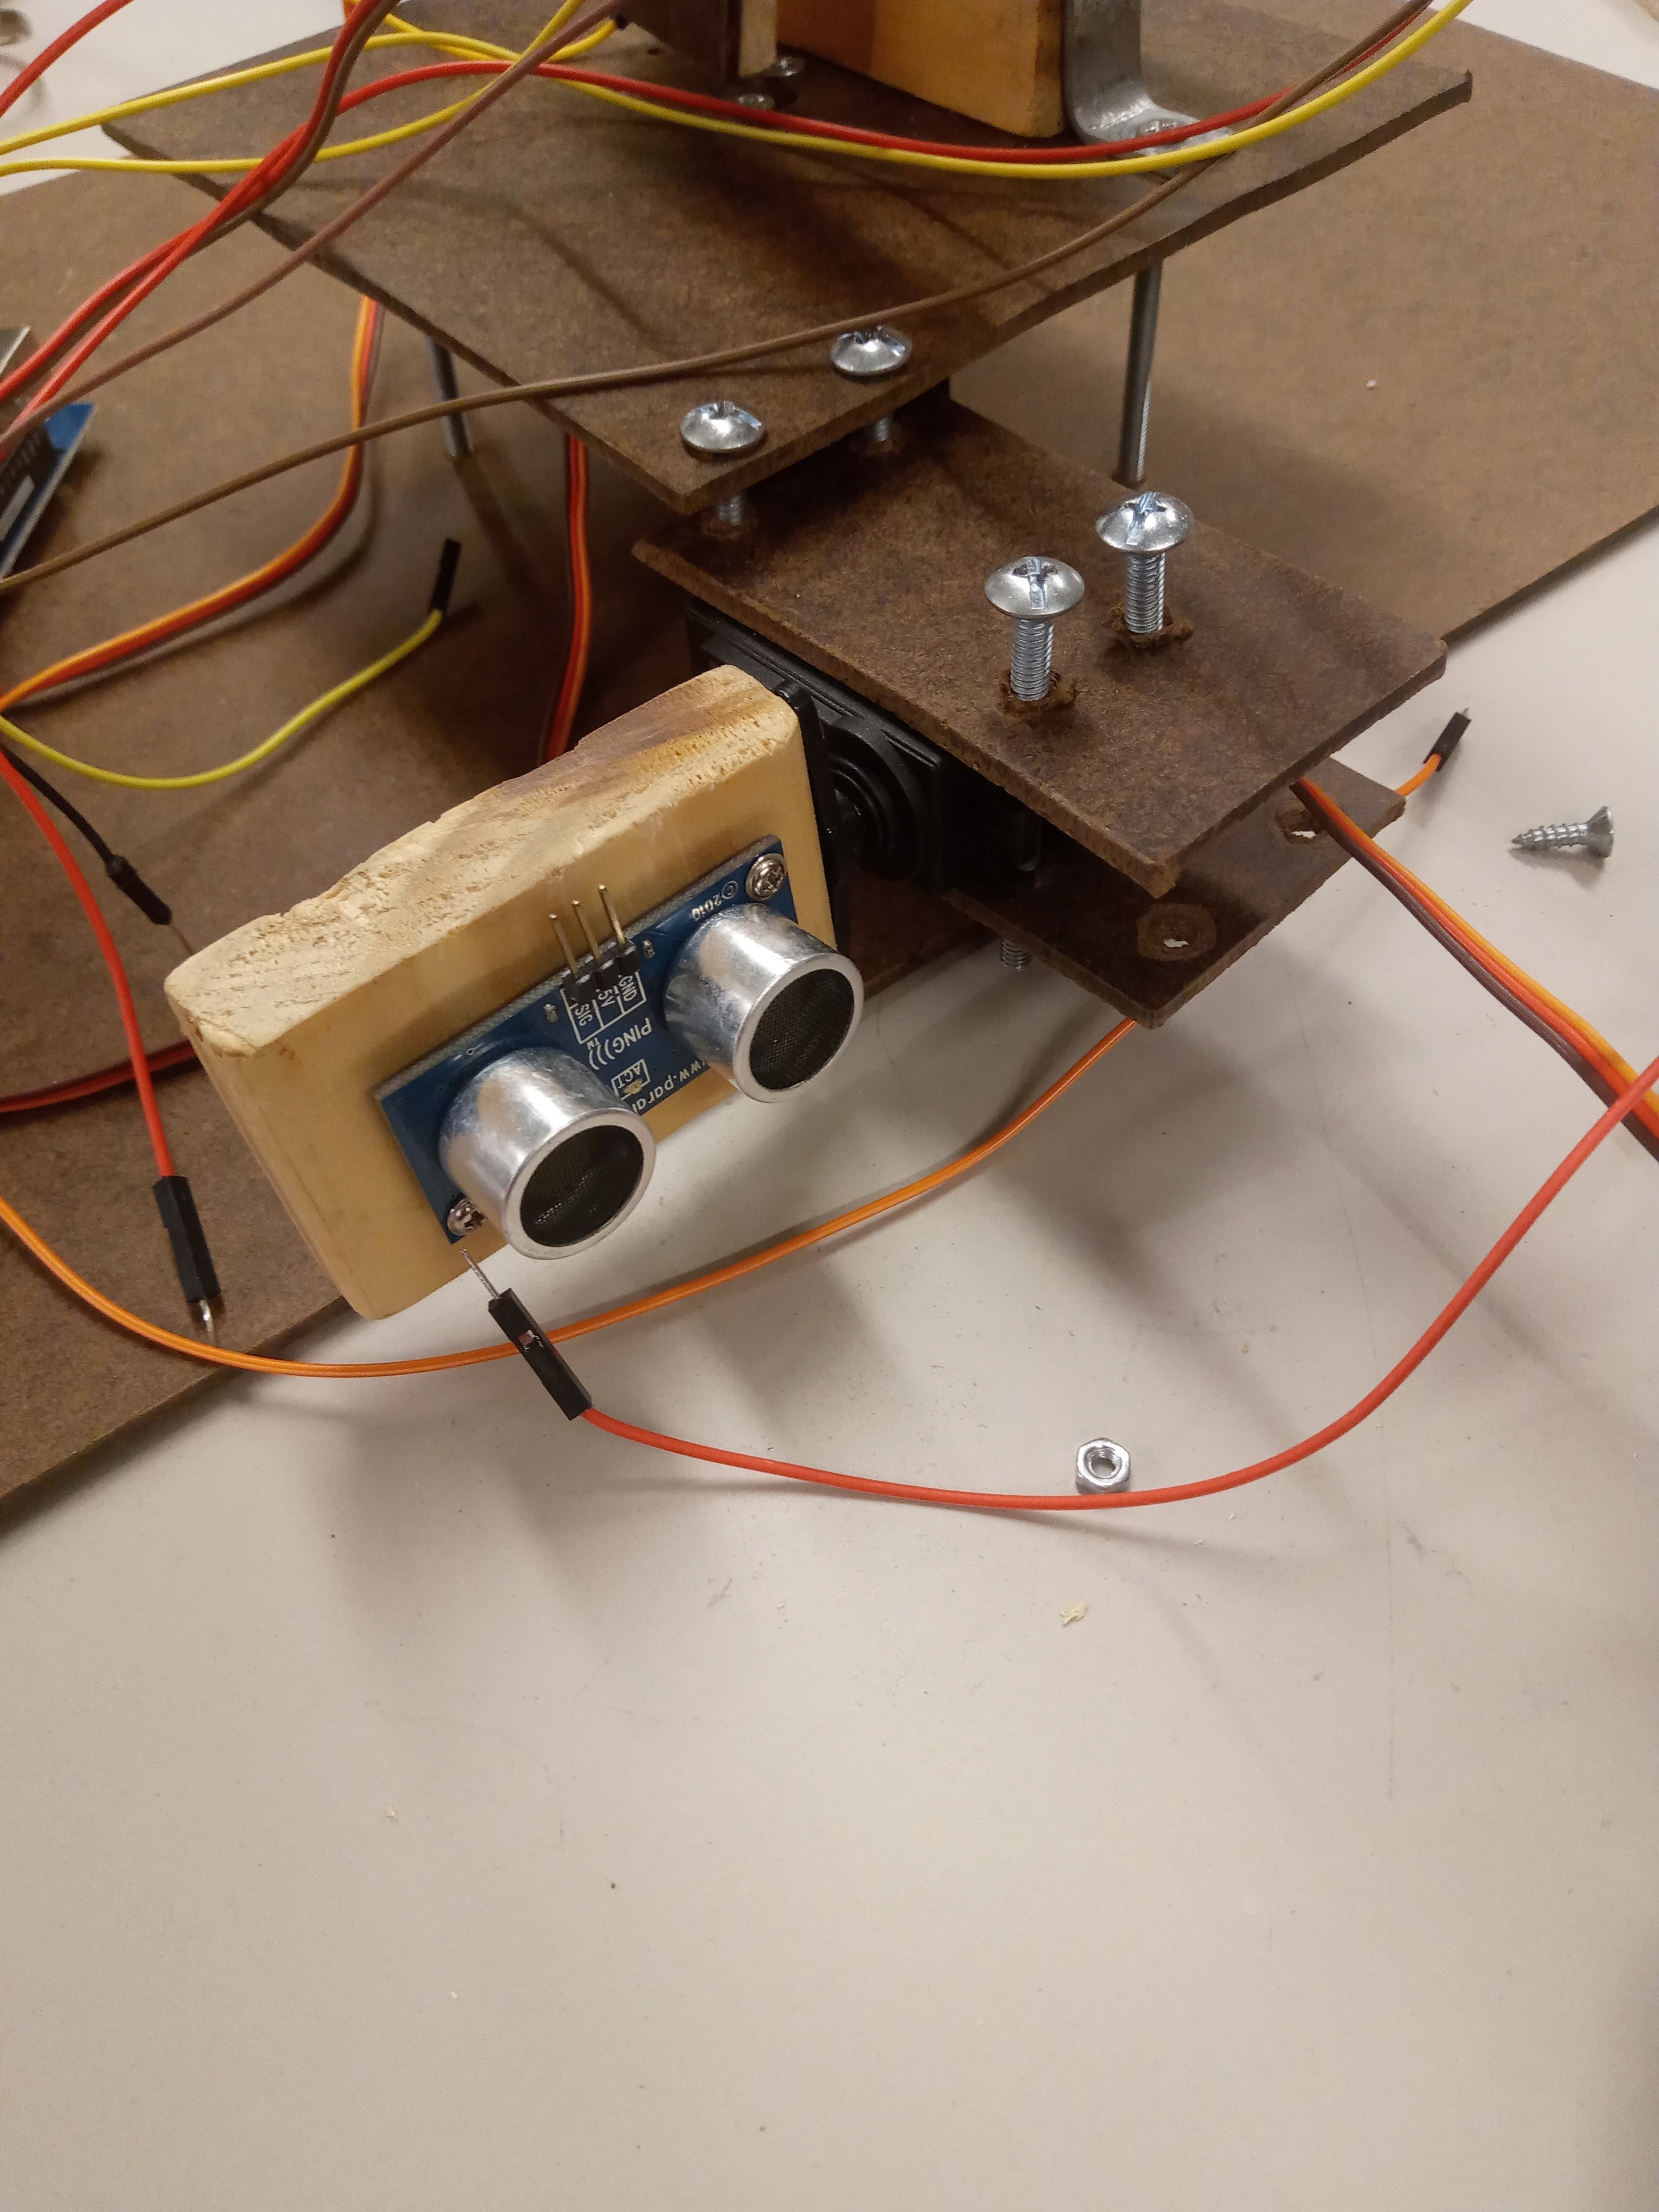
9. We improved stability by replacing the flimsy plastic gap-fillers with a new wooden block and metal brackets
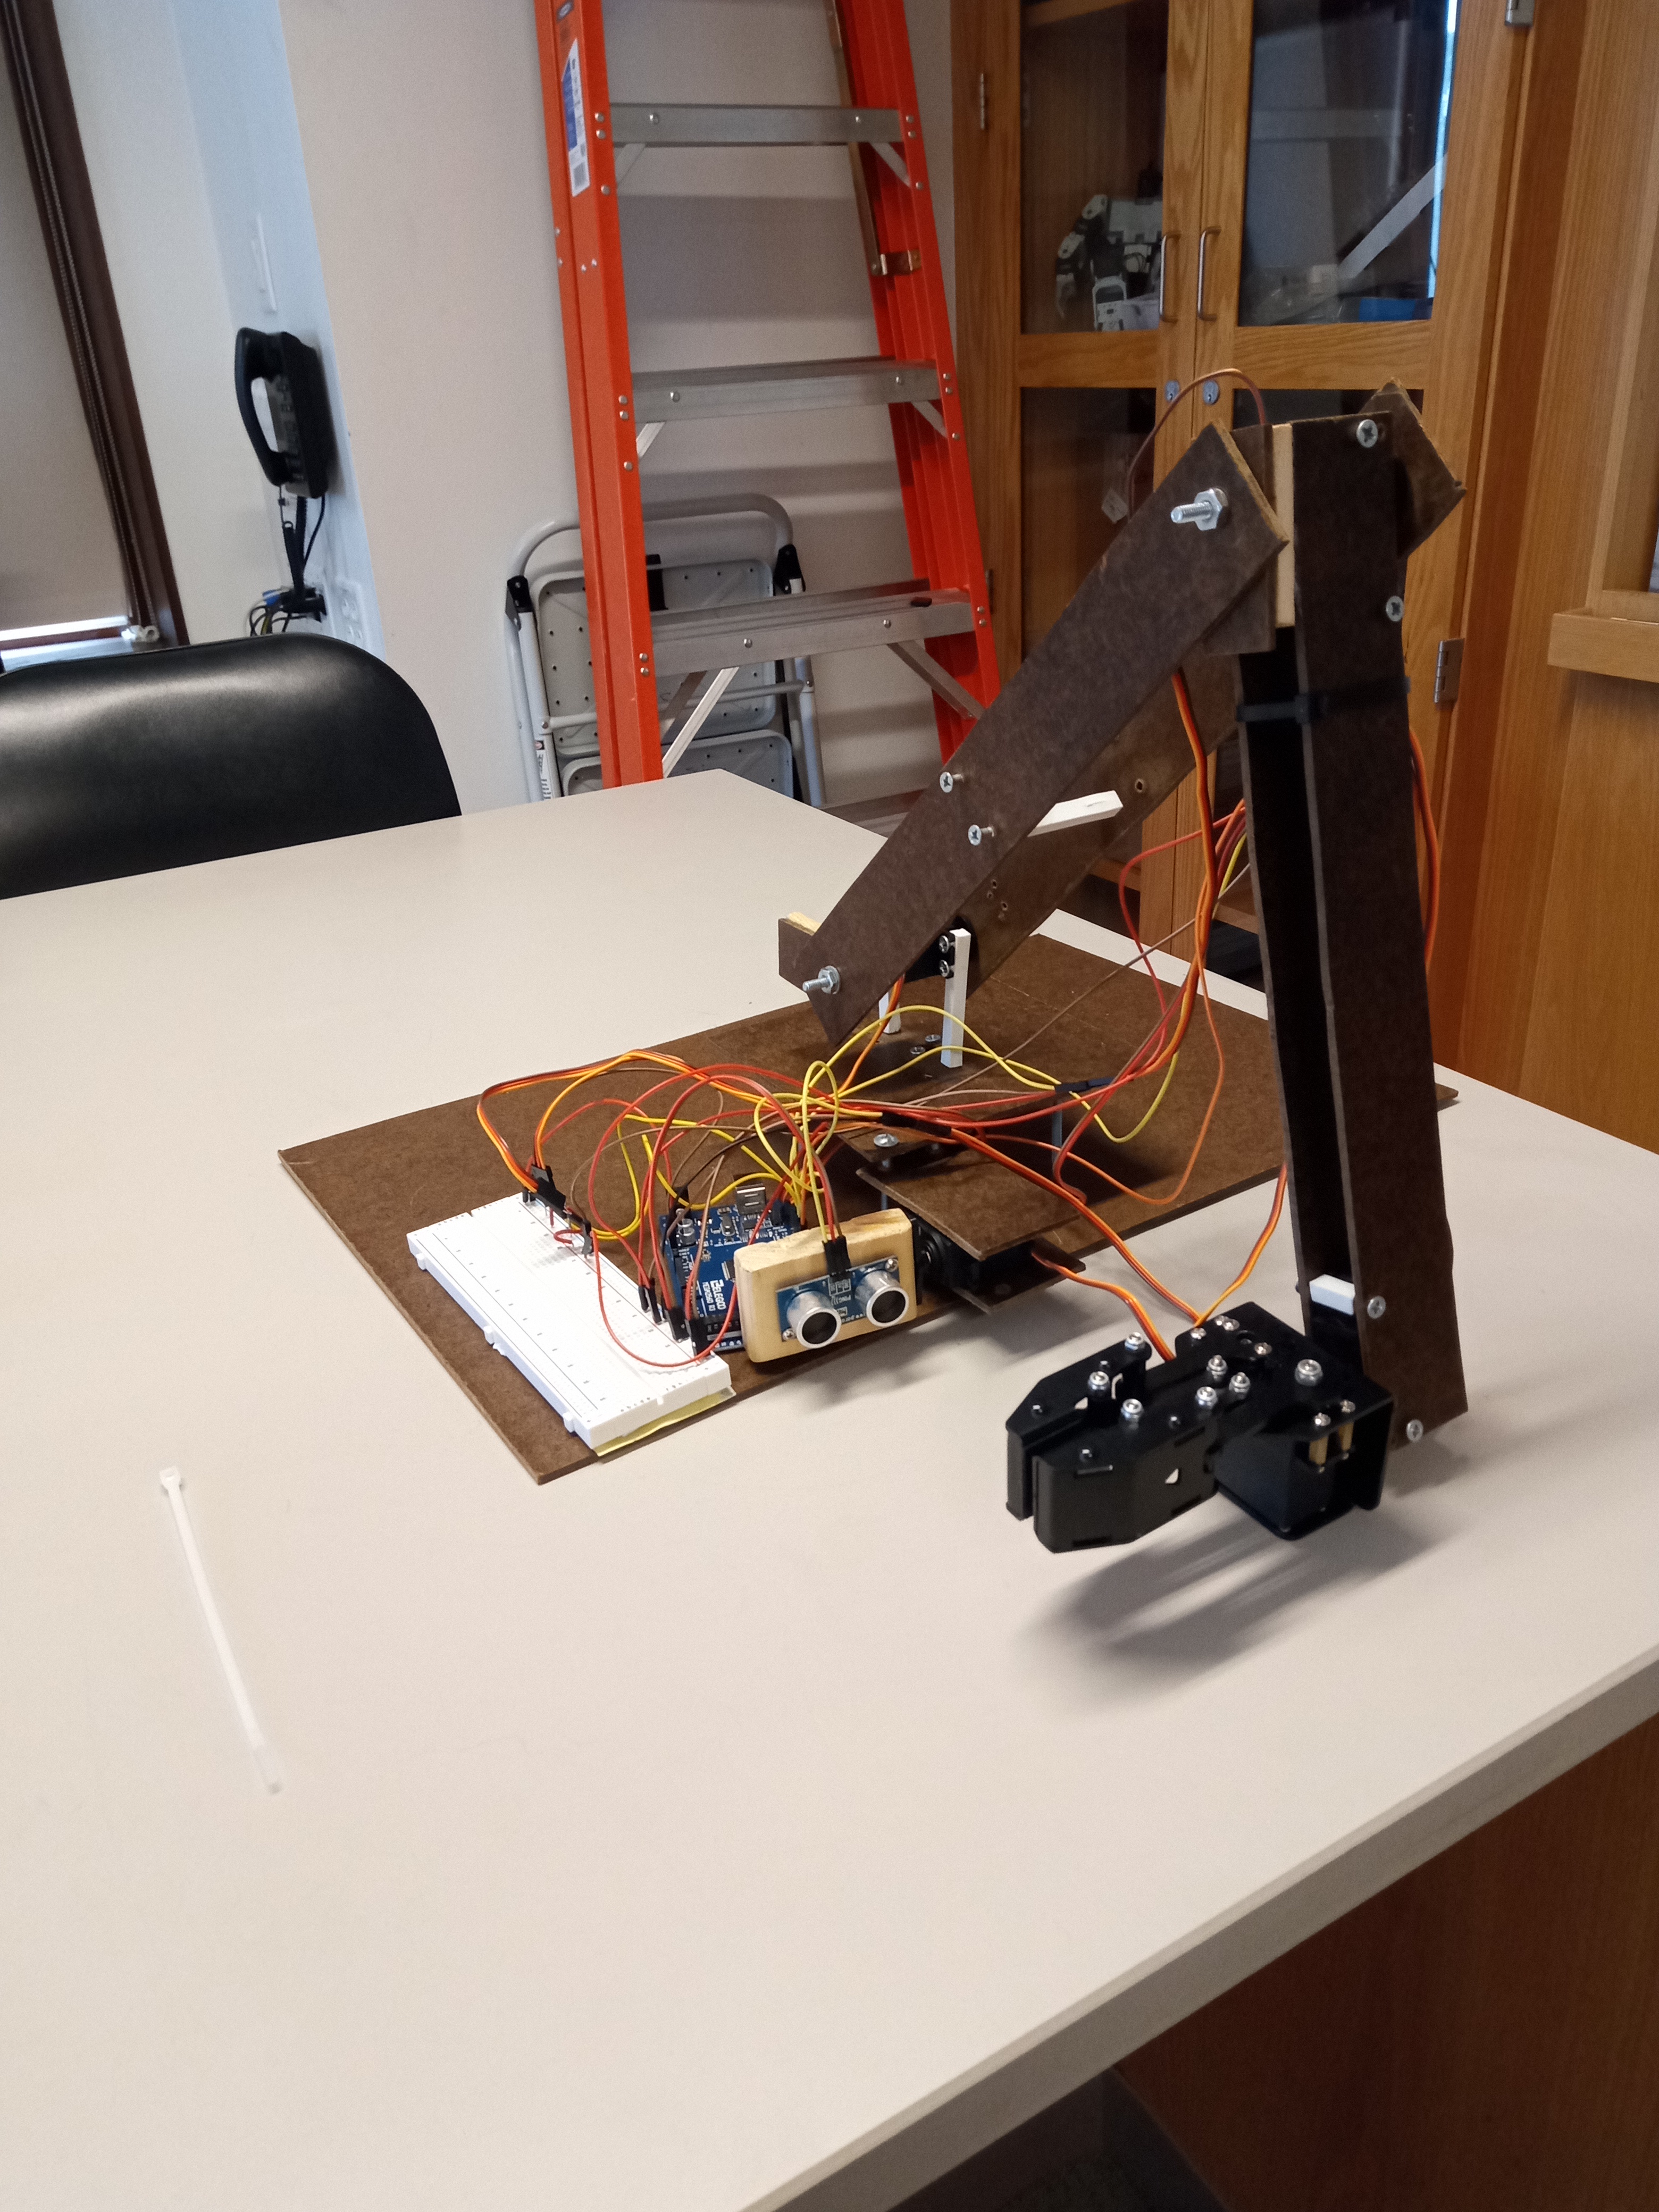
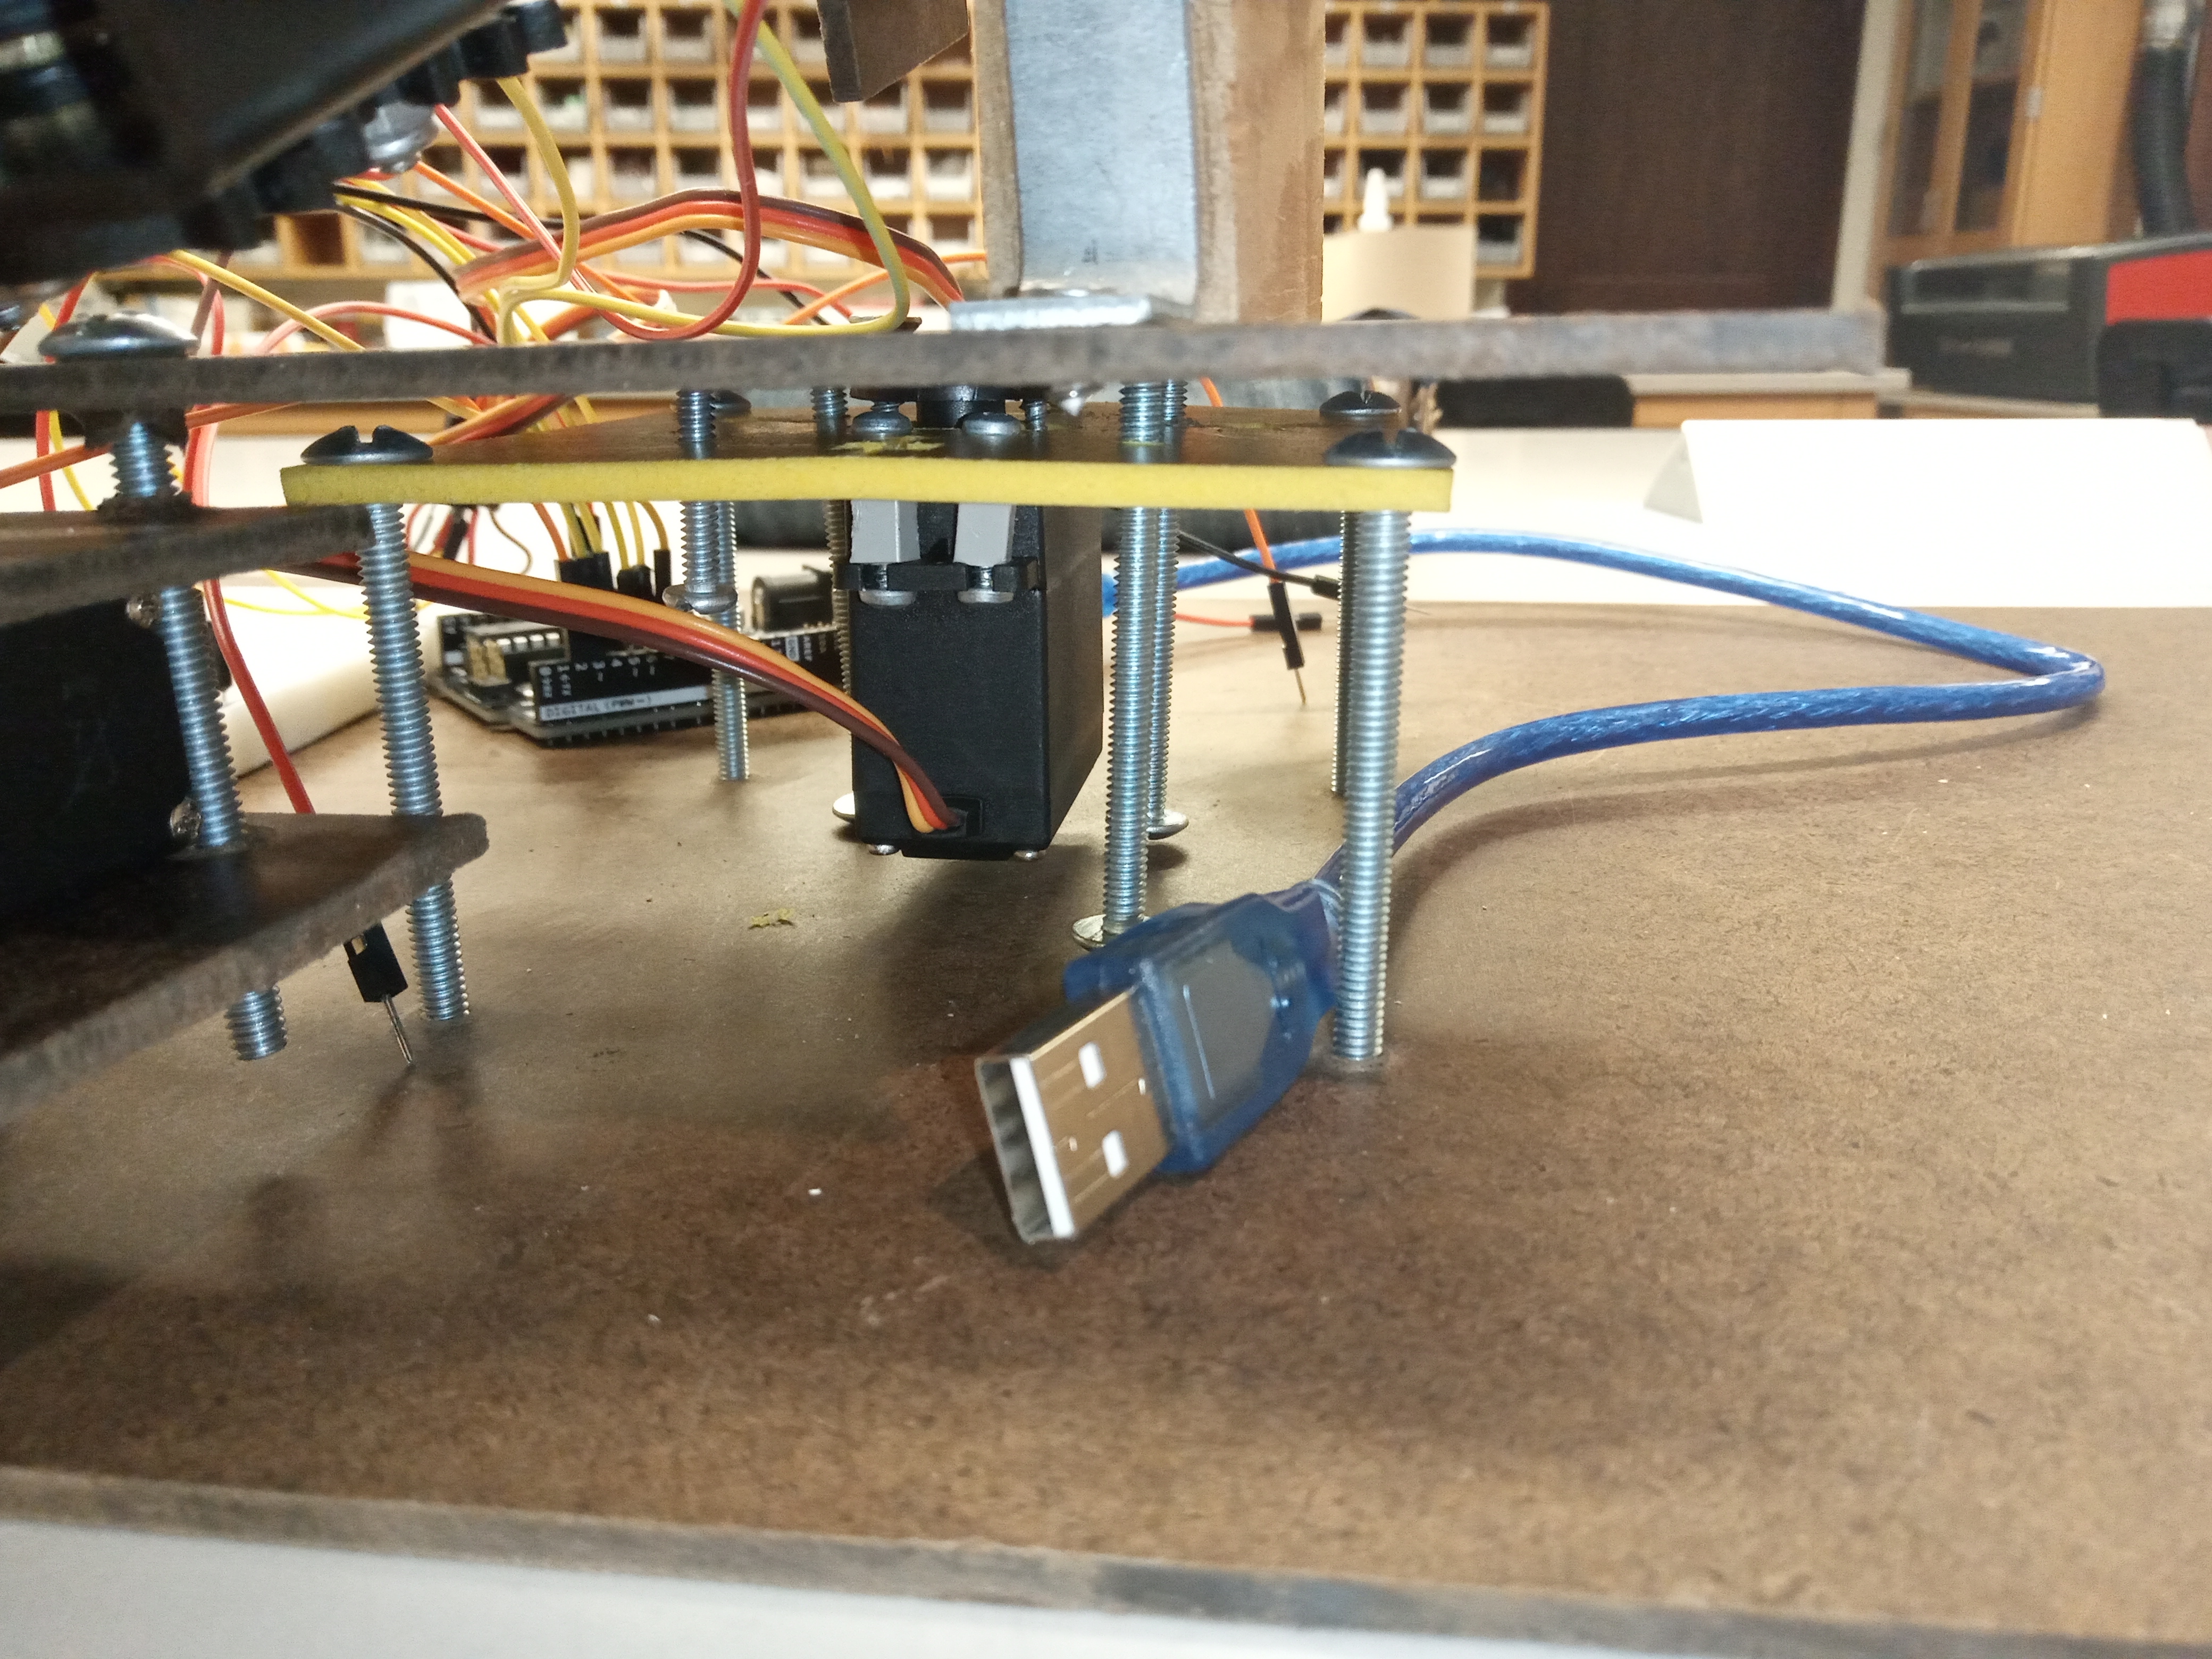
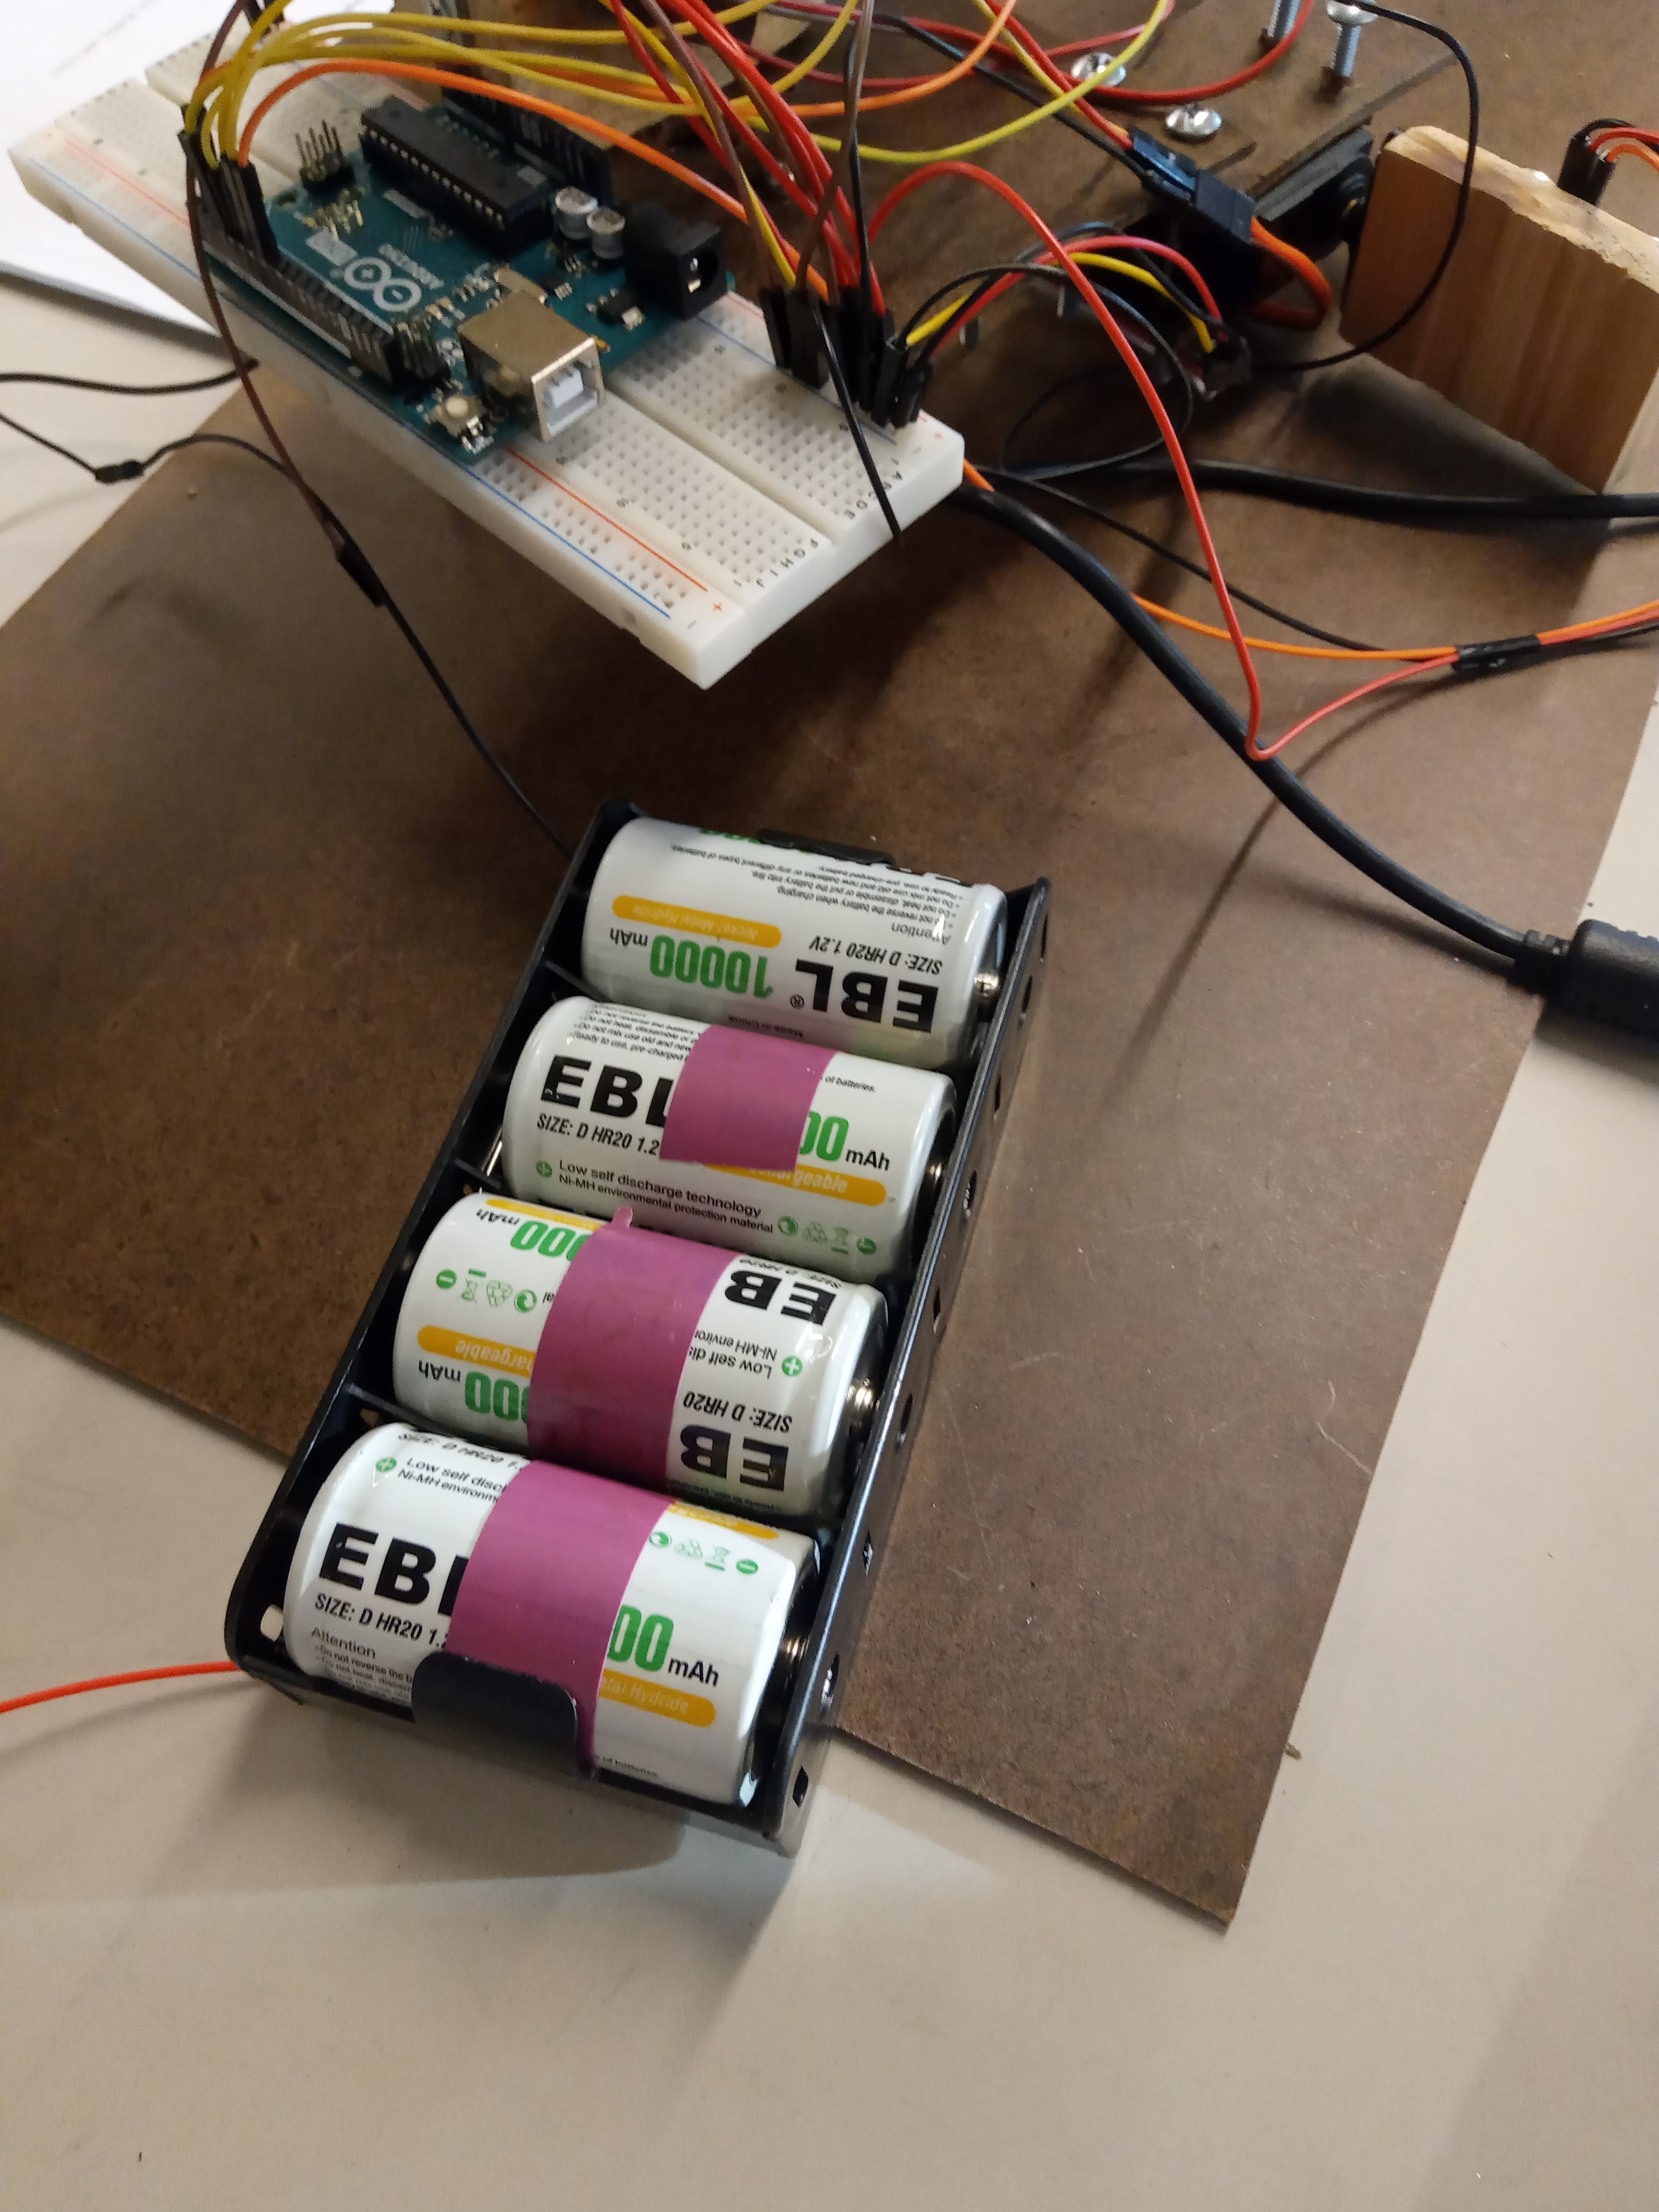
10. Hooked up most of the wiring to an Arduino UNO with a breadboard
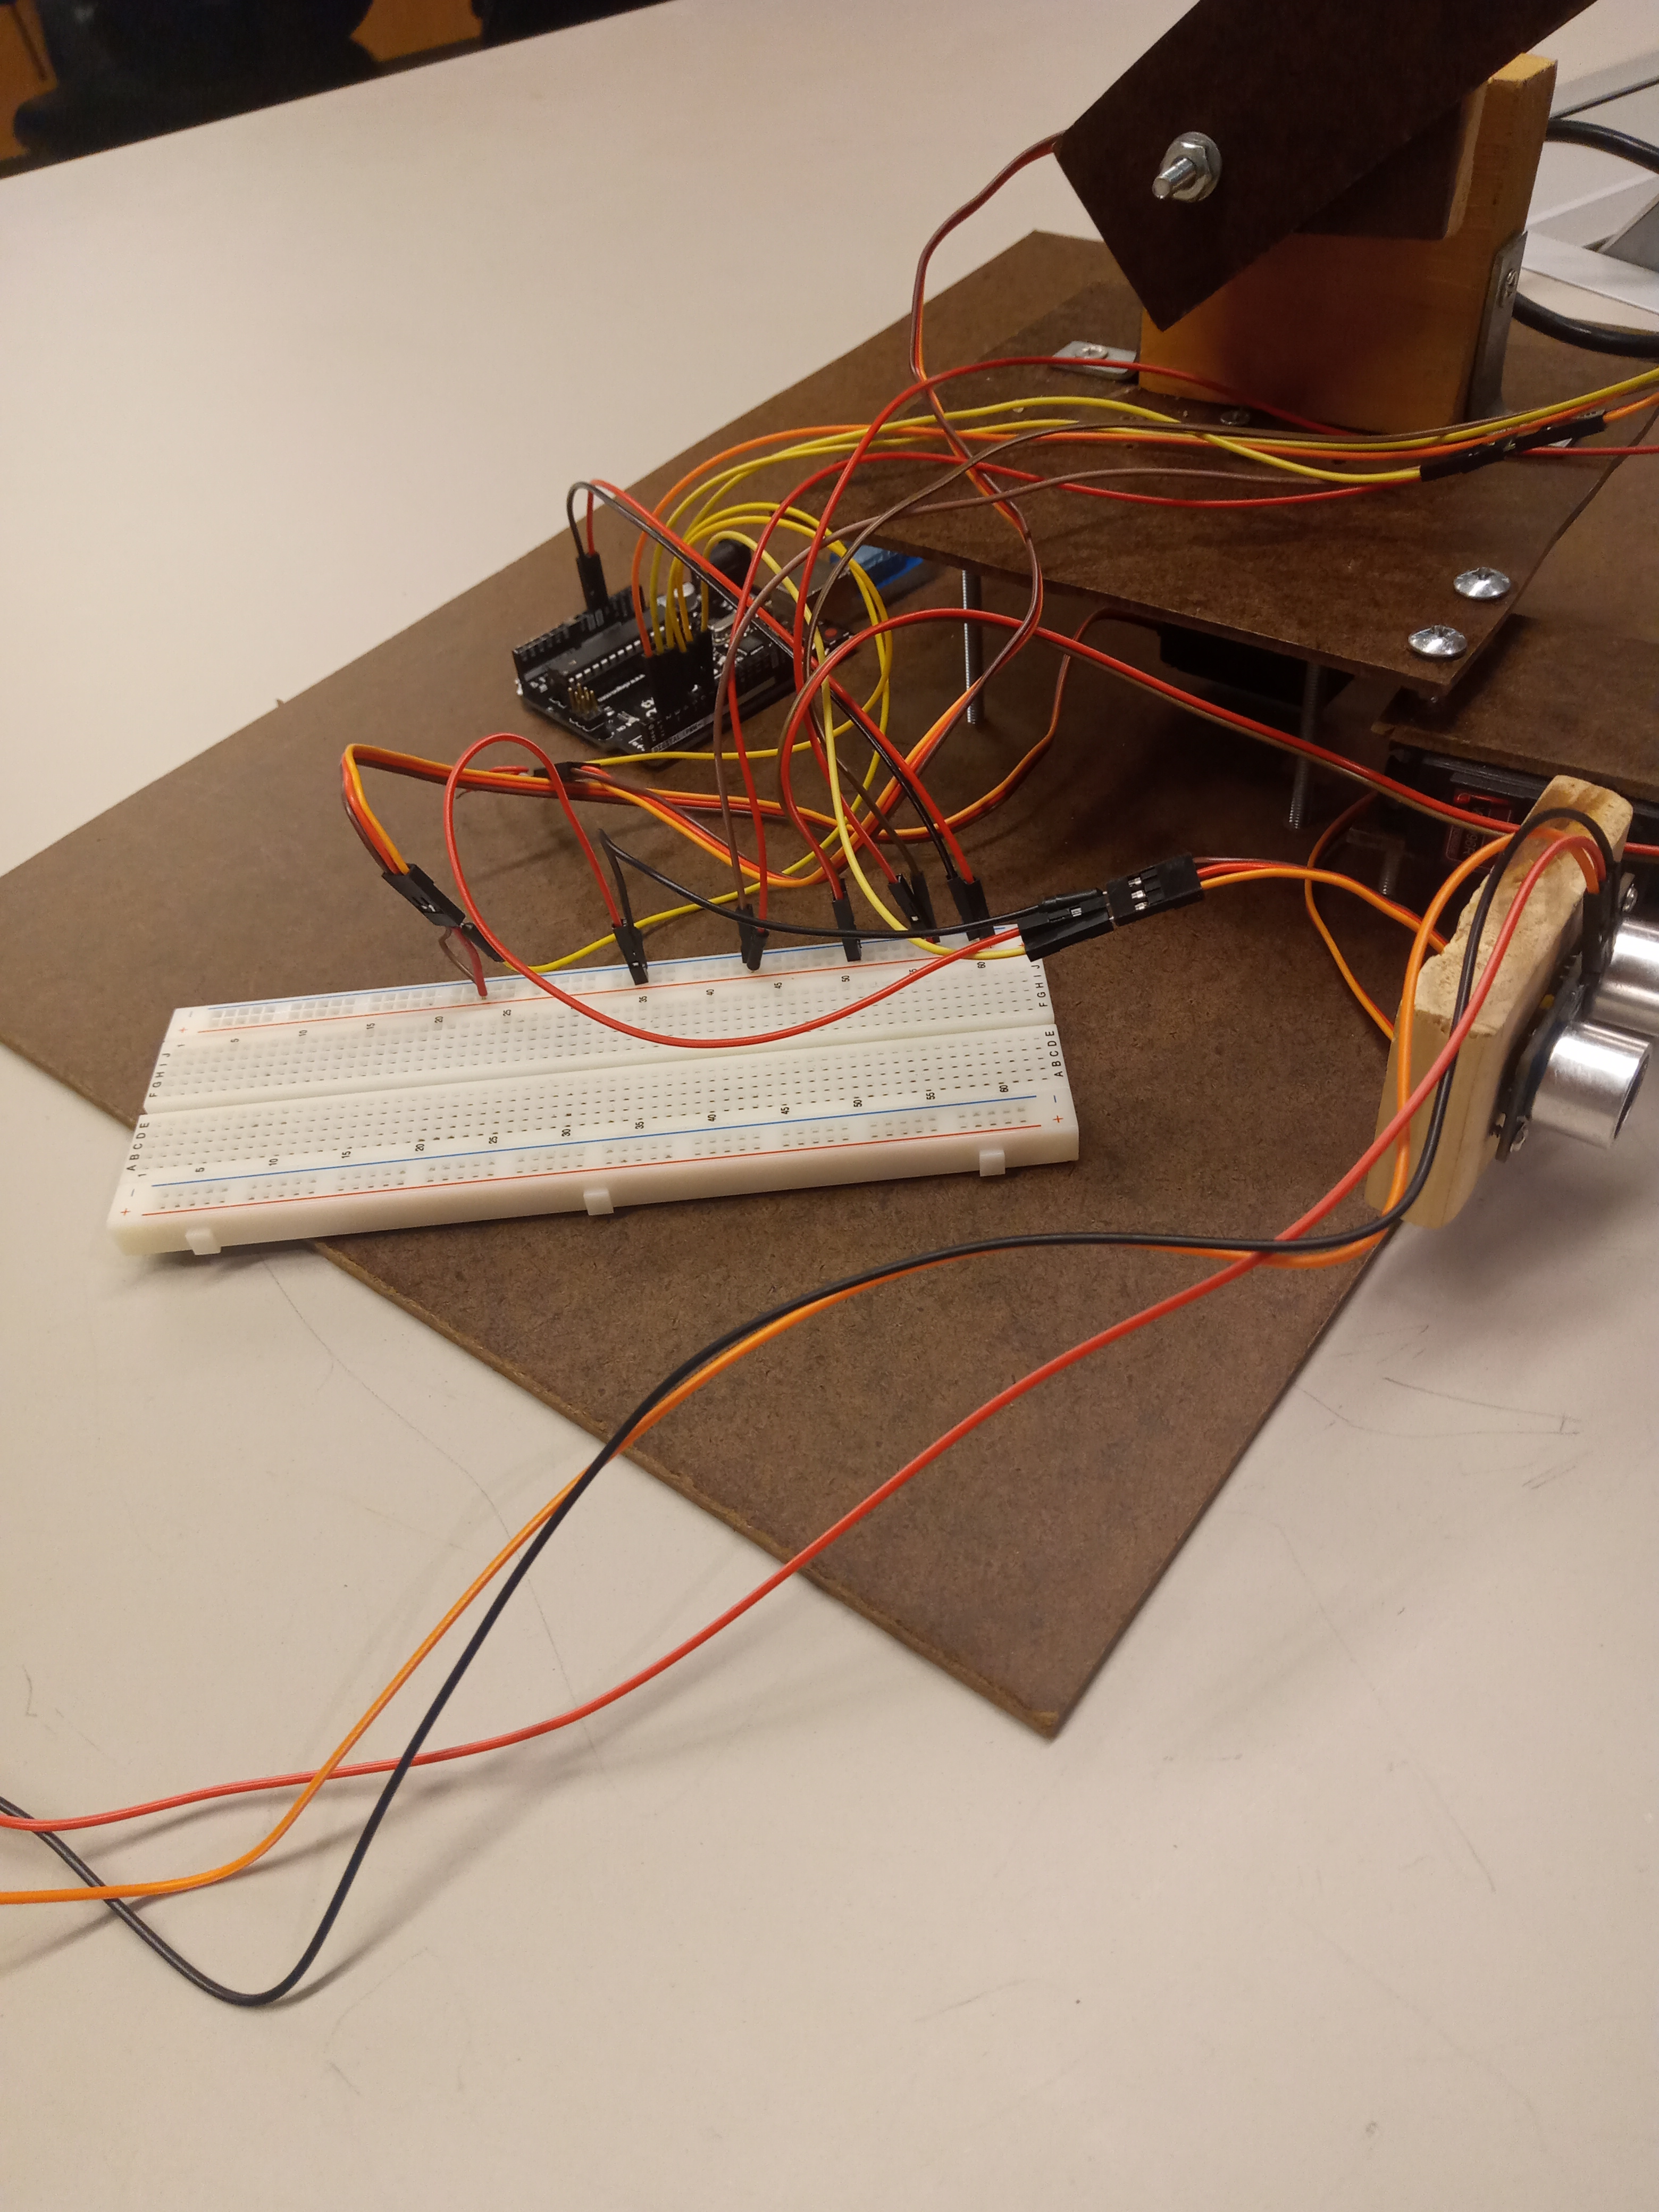
11. We added supporting bolts between the yellow base and the brown base to eliminate some wobble
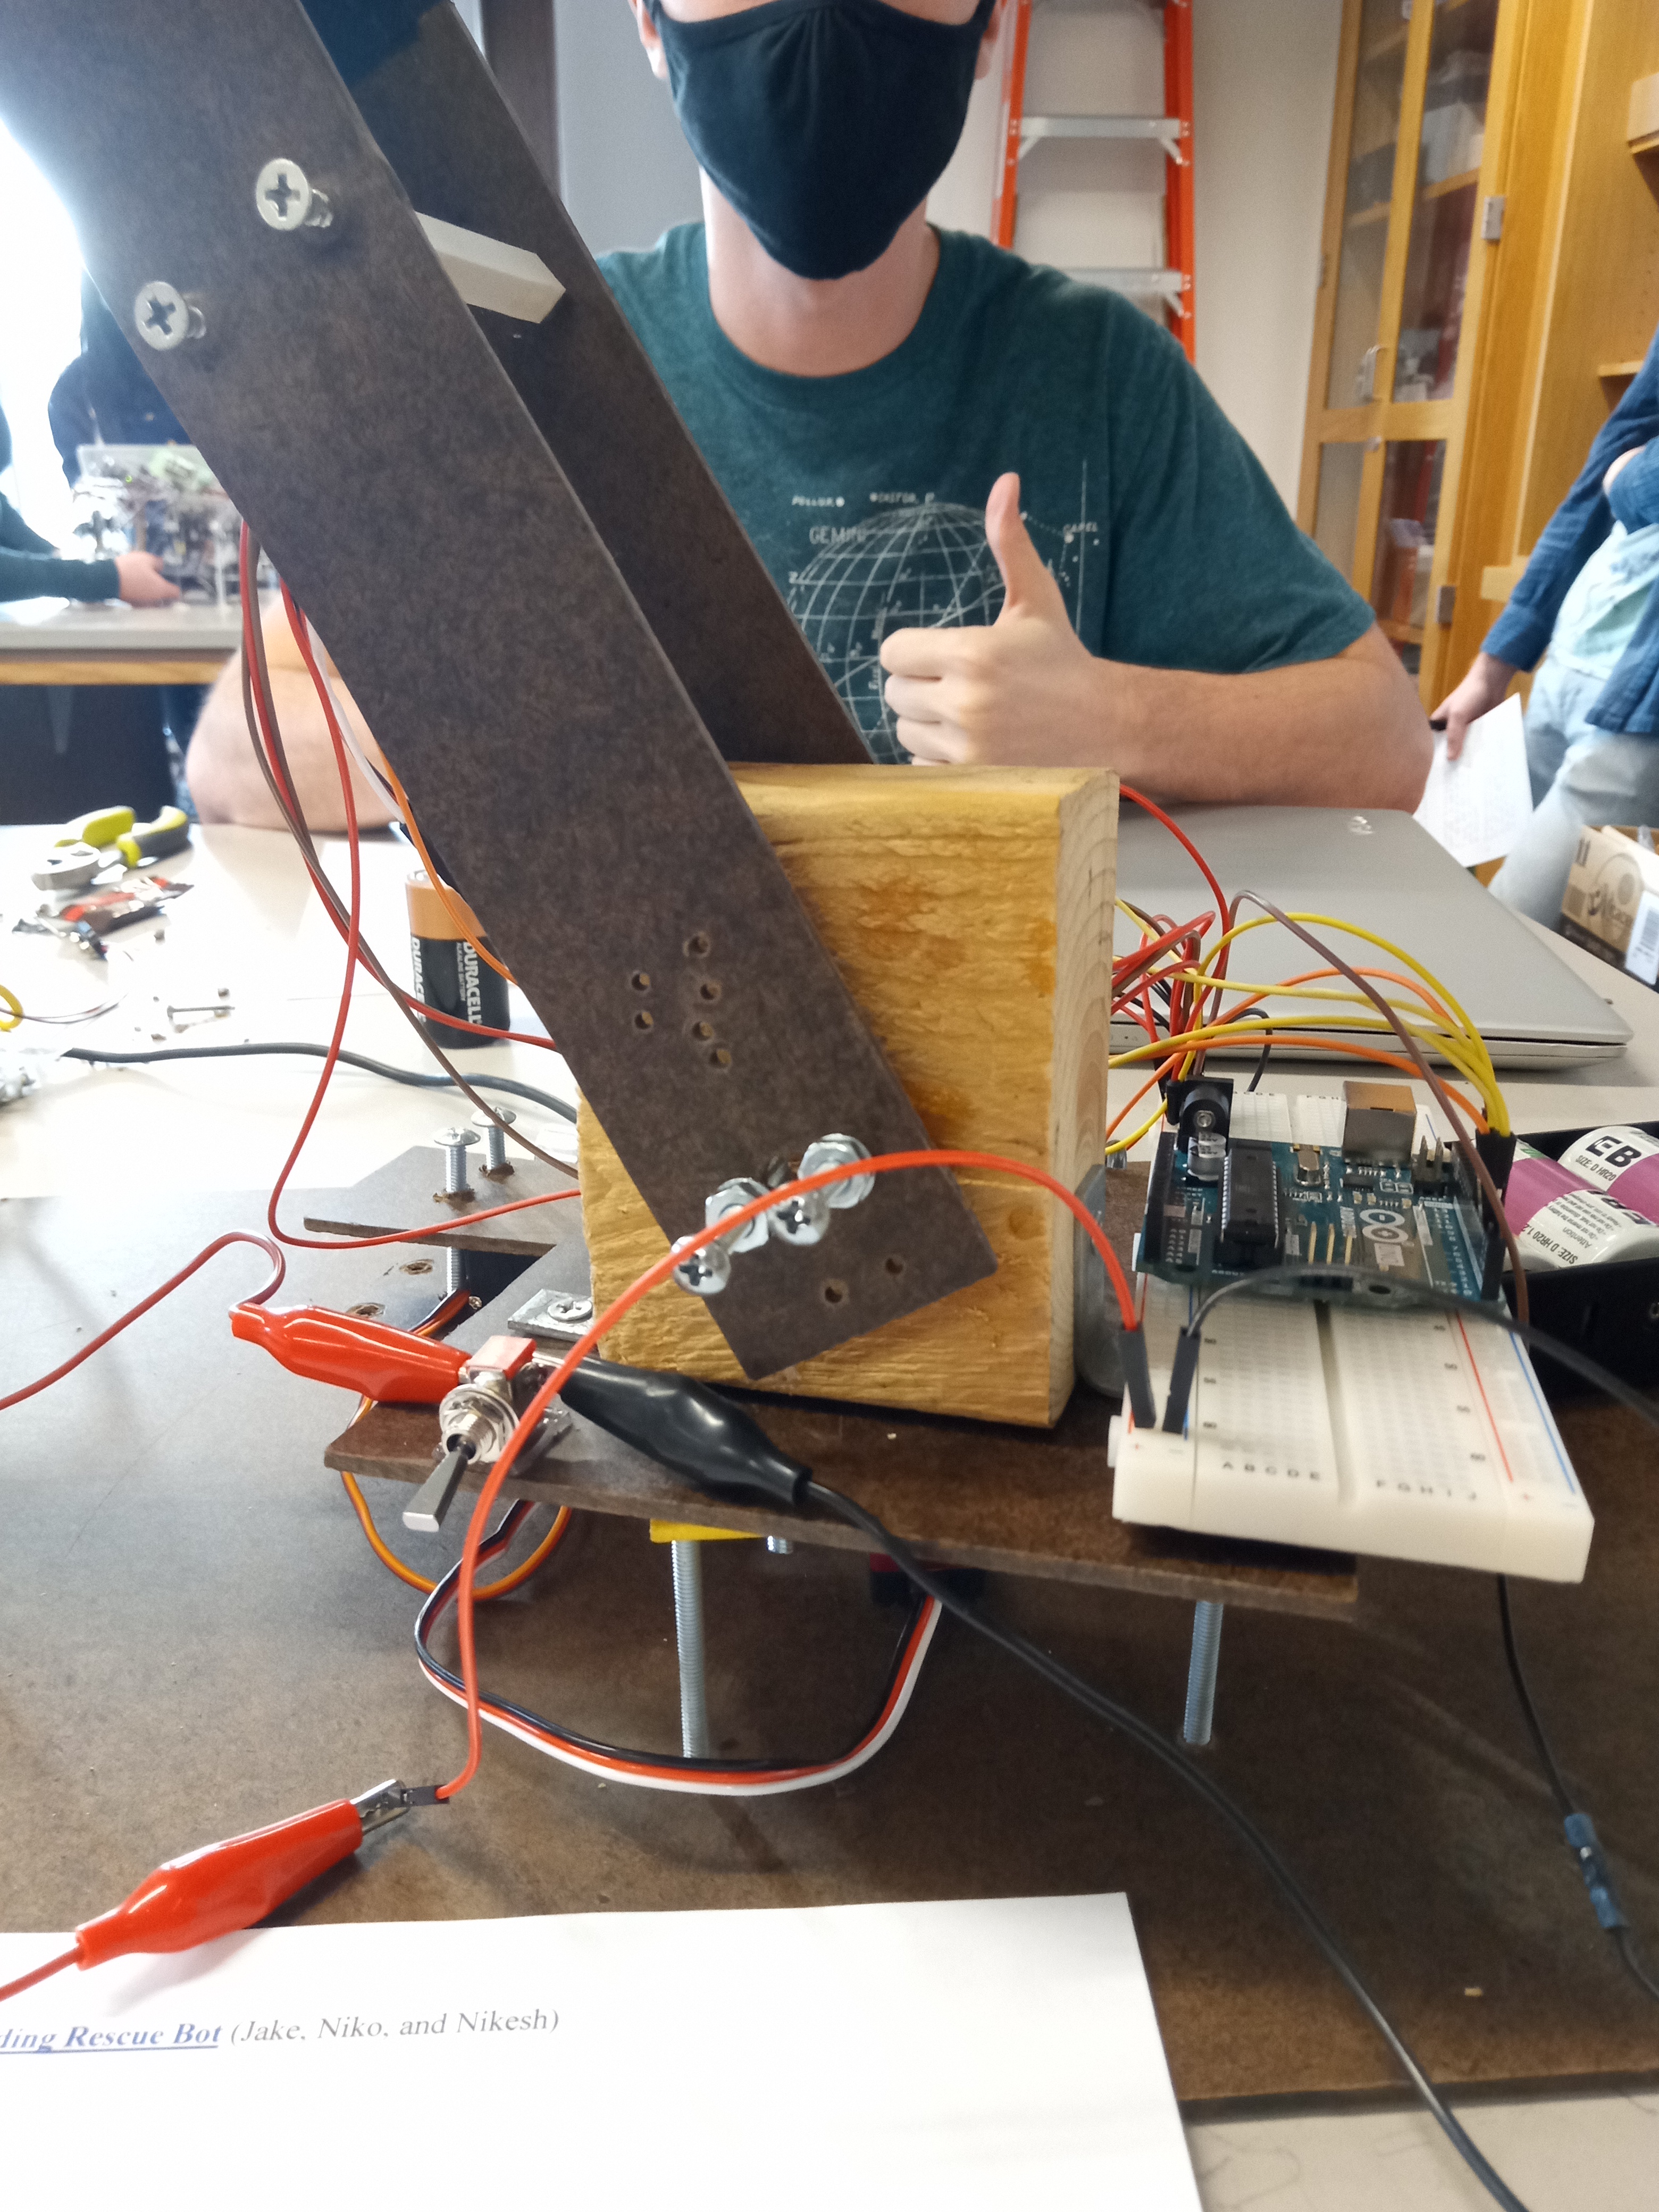
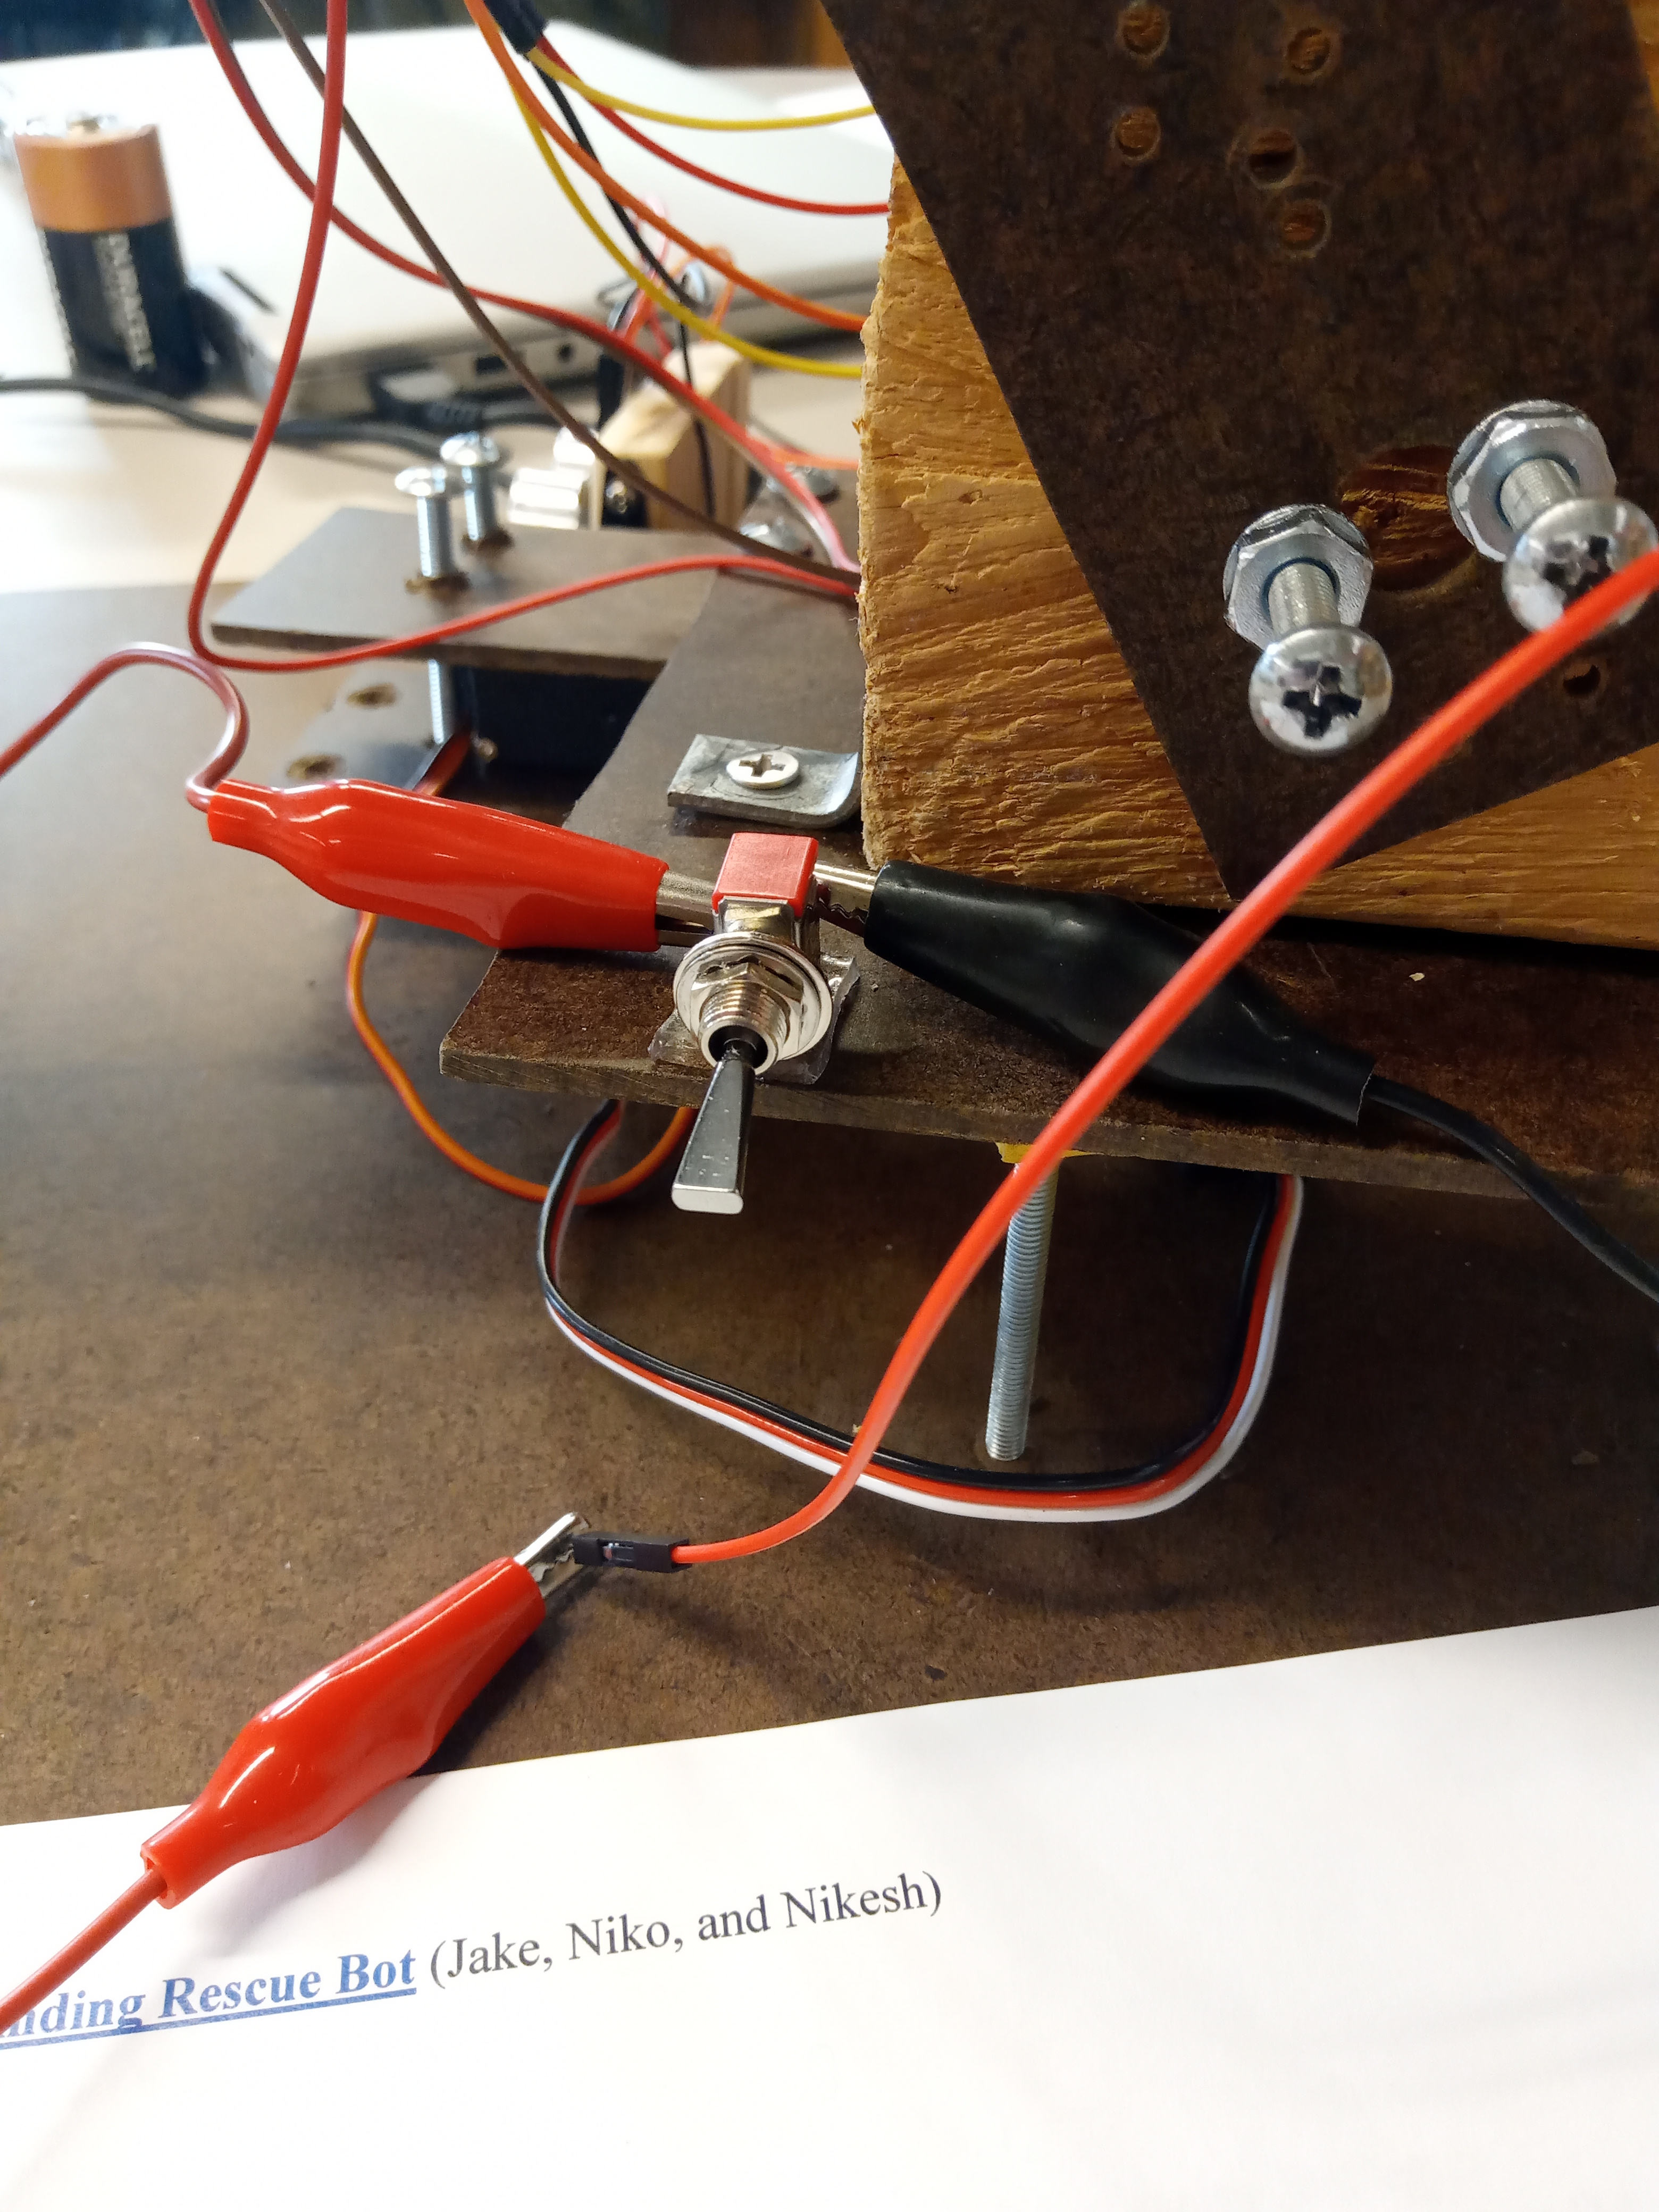
12. There were not shoulder motors strong enough available to us so we opted for a fixed-shoulder design which we accomplished using this block of wood
13. The elbow motor was just barely not strong enough too so we added a counterweight to help
14. We installed an array of D batteries to power the motors because the Arduino UNO was proving to be an unreliable power source. The Arduino itself is still powered by a laptop
15. We added a switch to the D battery power supply to make testing easier
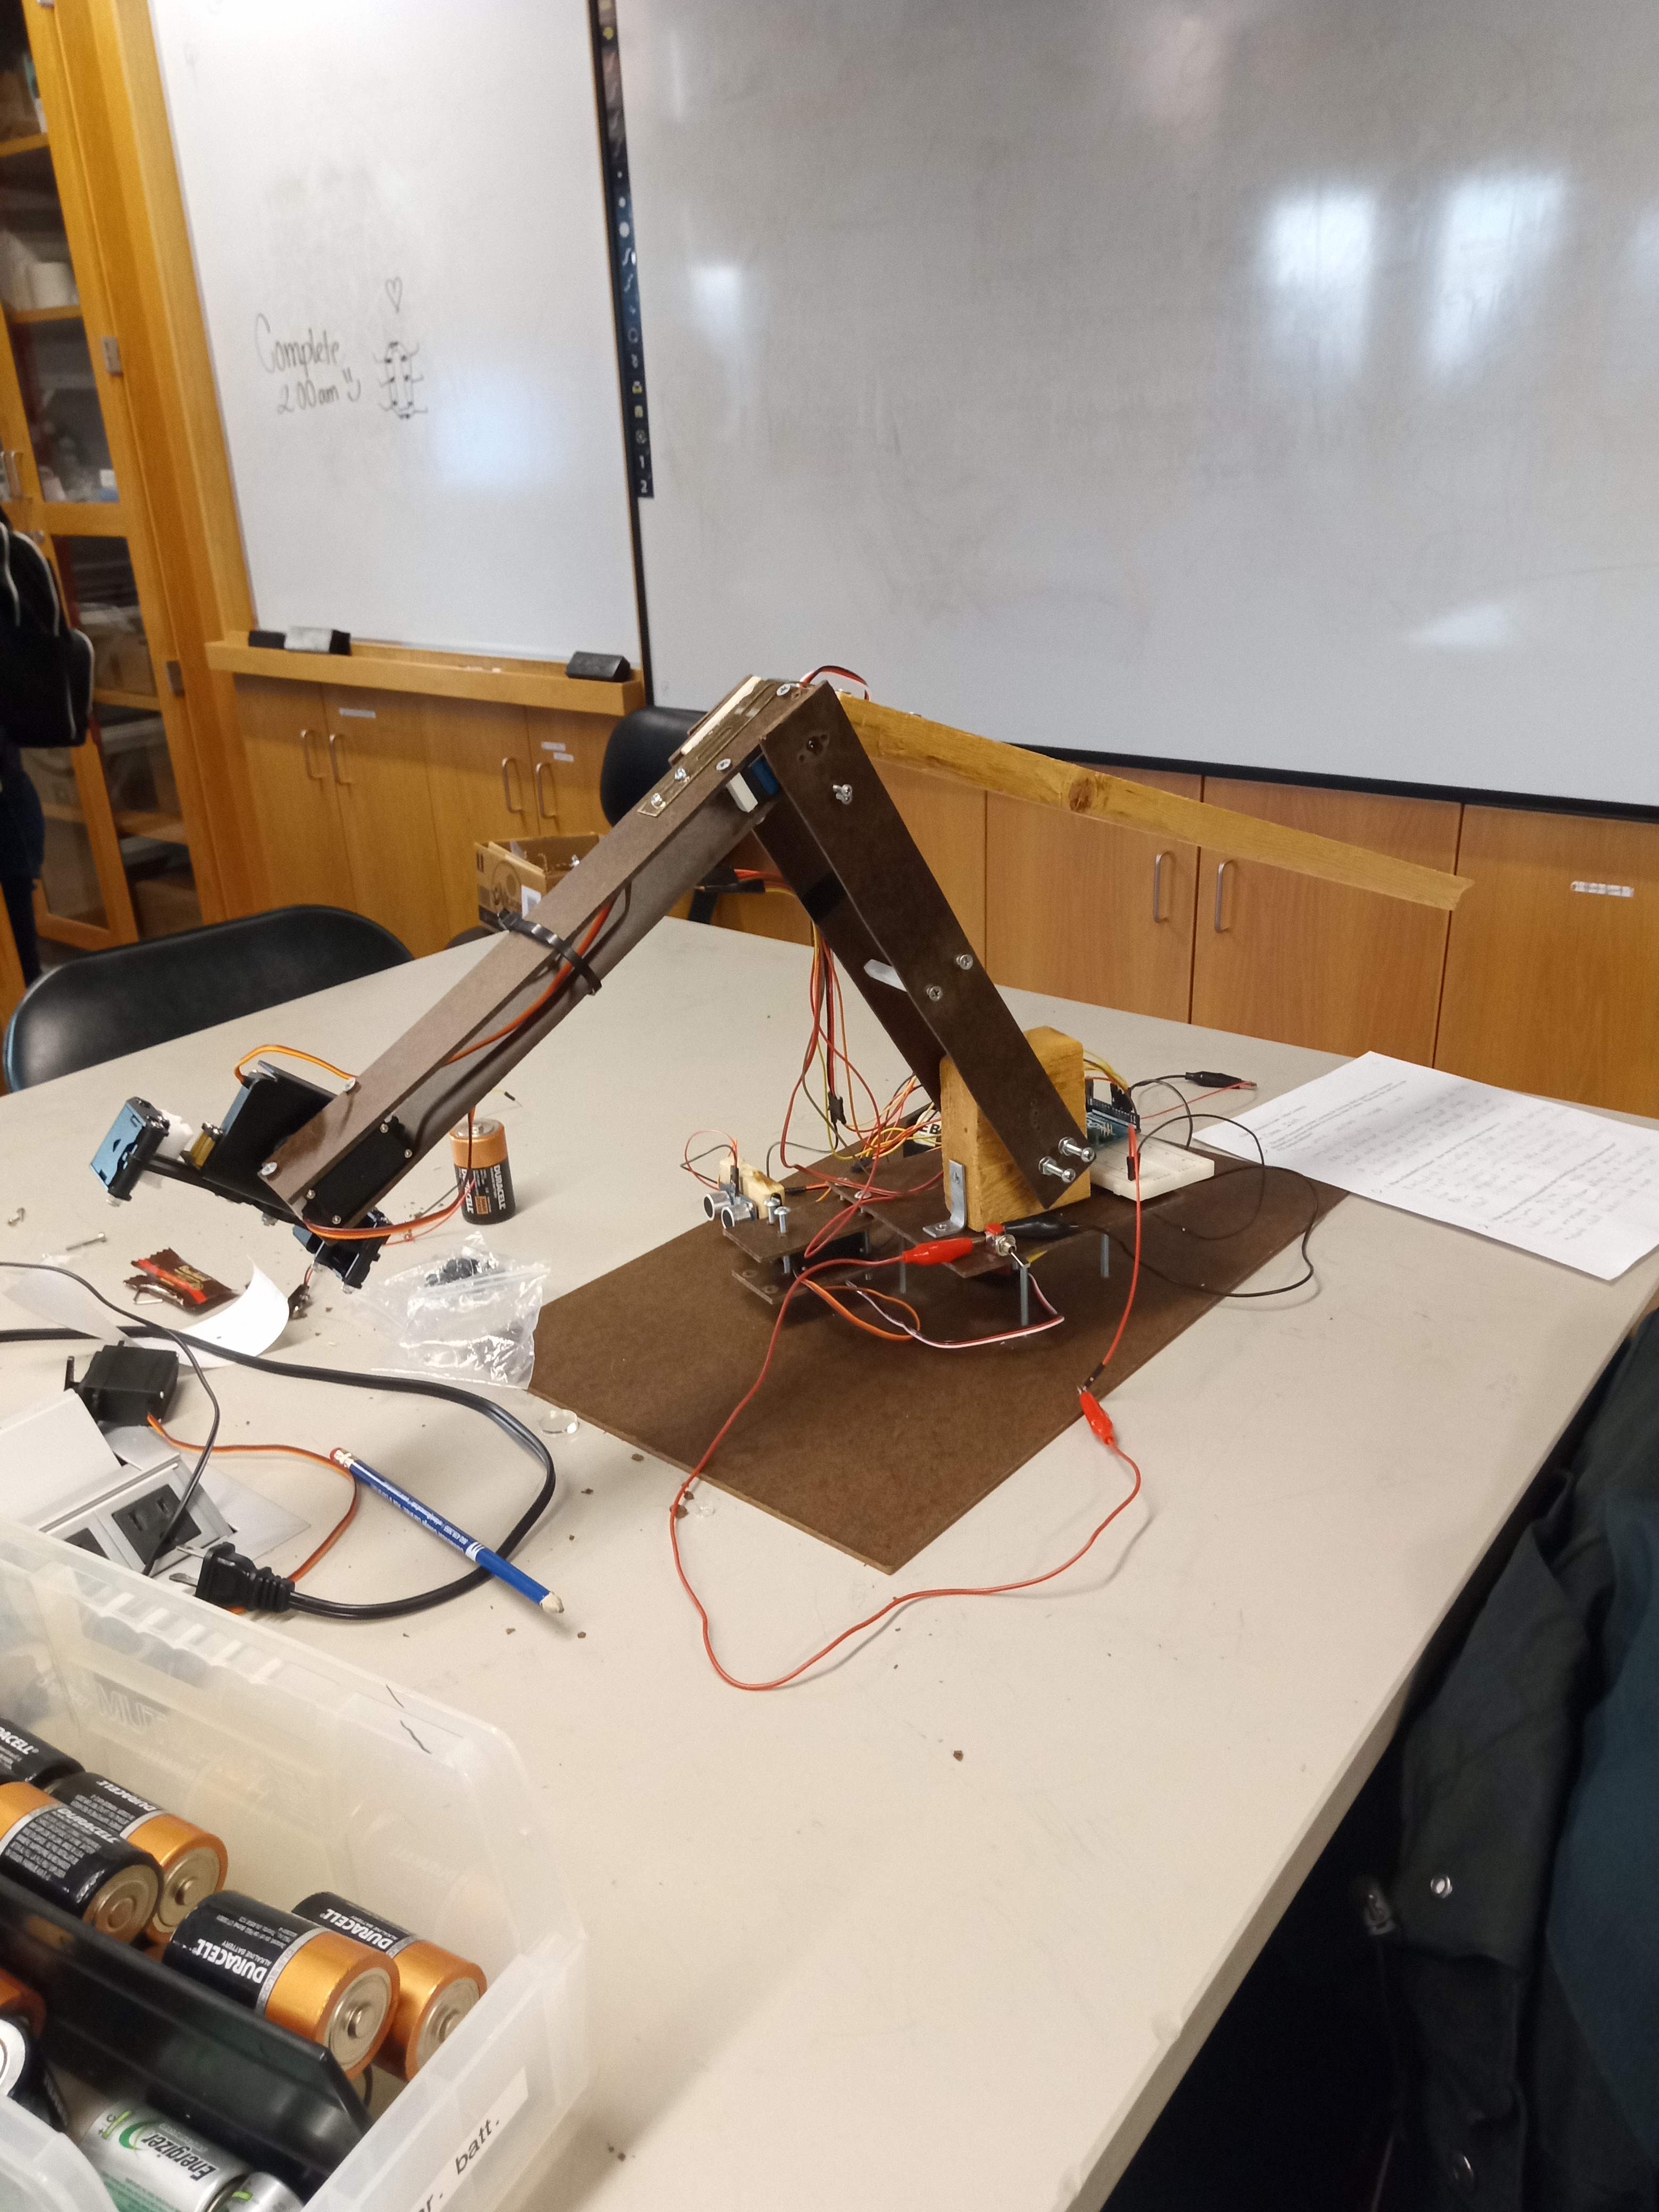
The finished robot!
The Robot in action!